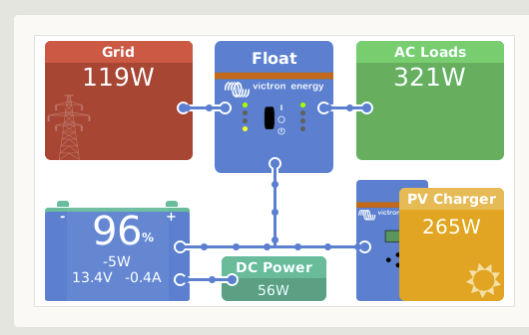
This is the third of several posts about upgrading an RV power system for better off-grid use.
Last time I wrote about installing the inverter and other system components. This time I’ll be covering phase one of the final portion of the physical installation: mounting the solar panels to the top of the trailer’s roof.
Research
My original plan, the one the solar charge controller was sized for, was to go with six 180W Grape Solar panels for a total of 1080W. Home Depot carries these and will include shipping to the local store, which is a huge cost savings because they’re large enough to need to ship via freight. Problem was, they were sold out for a while, from when I first started doing my layout to when I was ready to purchase at least the first few. Not knowing when they’d be available caused me to start looking into other options.

I explored two other panel size options: 100W x 12 for a total of 1200W and 300W x 3 for a total of 900W. The large panels were quickly ruled out due to both physical size (they’d be hard to get up to the roof and mounted alone) and they needed to ship freight ($$$$). I was on the fence with the 100W panels — more total wattage would be nice to have, but 48 brackets to mount all of the panels would be kind of expensive.


What ultimately decided it was stumbling upon a great deal for Renogy 100W monocrystalline panels and brackets at the time I was ready to make a decision. I decided to do the first half of the panels and purchased them for close to $1 per watt. The Grape Solar panels were still out of stock.
As a brief aside for anyone new to solar, there are two types of panels: monocrystalline and polycrystalline. There is no functional difference — a 100W mono panel will produce the same power as a 100W poly panel. Where they differ is in efficiency: mono panels will always take up less surface area for the same wattage. That said, they’re often different shapes, so it’s entirely possible one will fit better than the other.
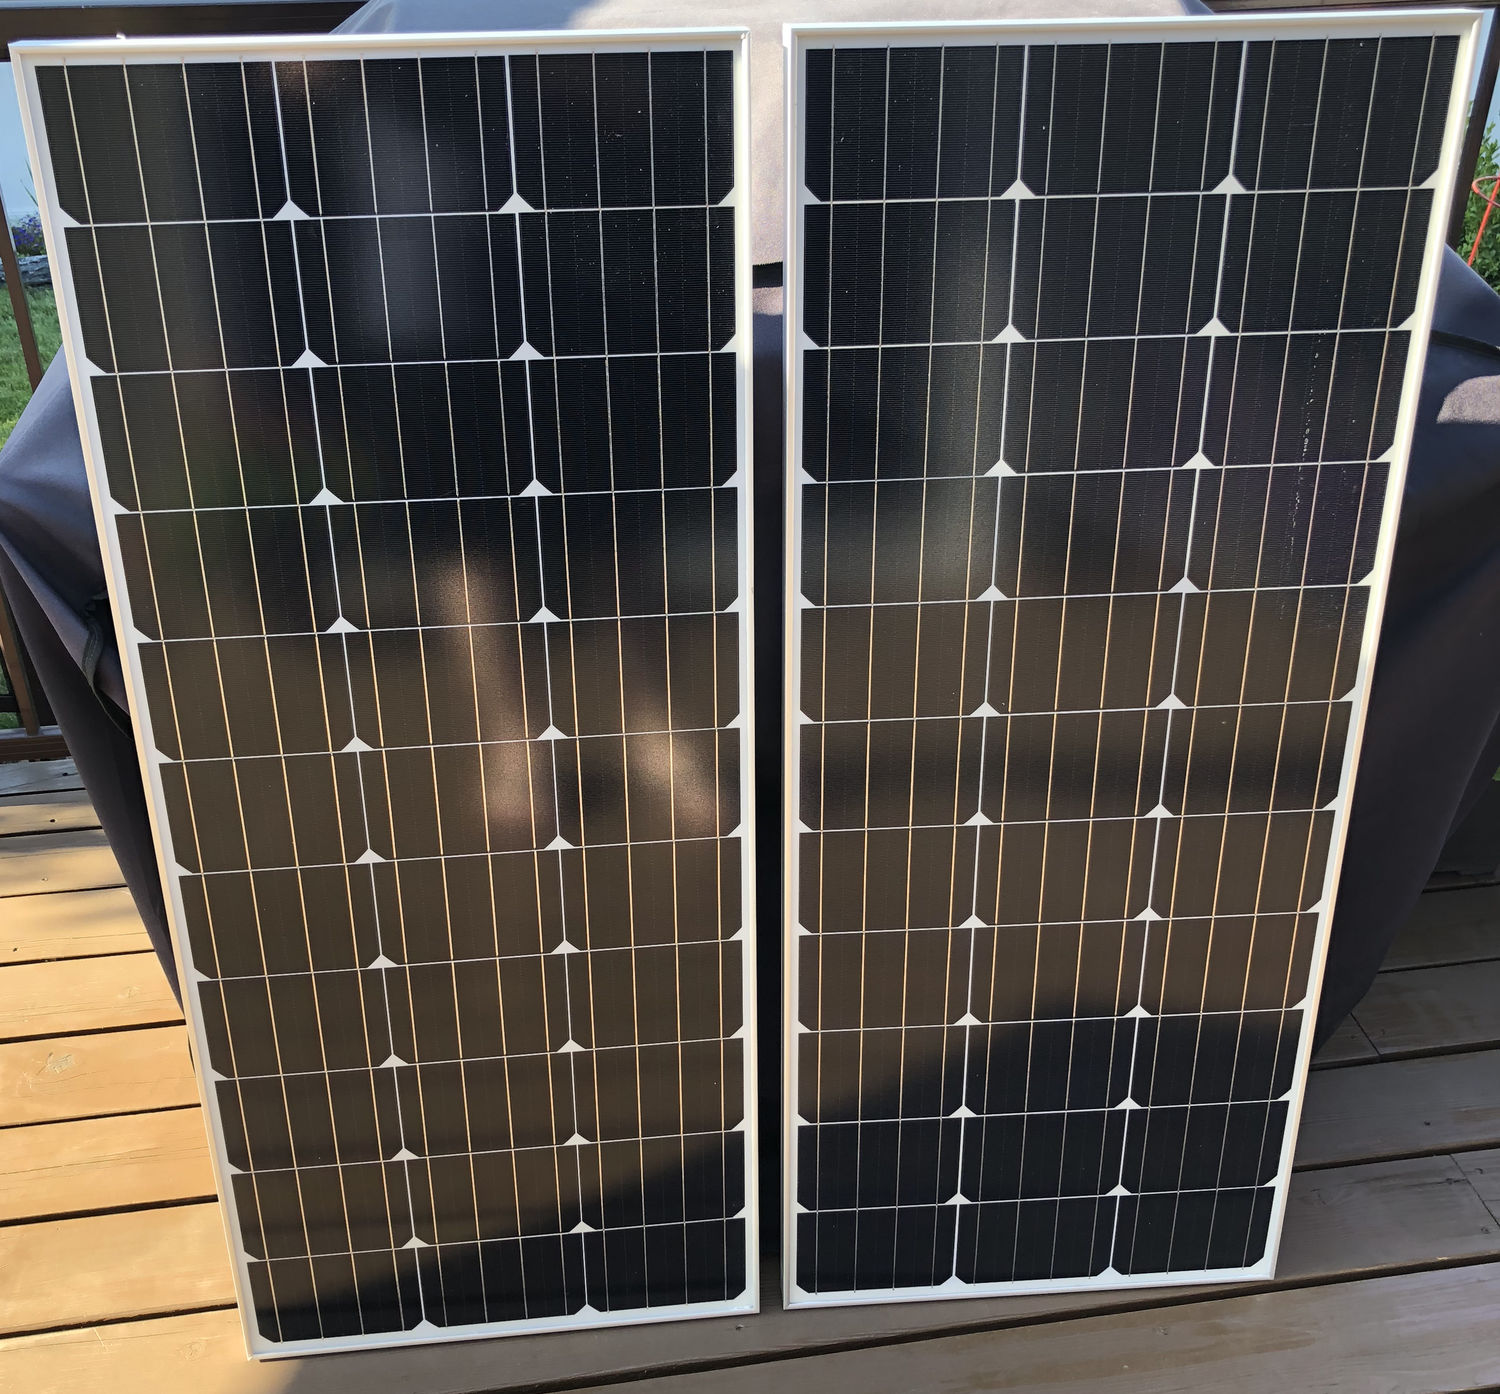
Installation
The trailer came with 8 AWG solar pre-wiring and a Zamp combiner. I chose to connect the panels in a series-parallel configuration with strings of two panels each, both to stay within the ampacity of 105°C 8 AWG wire and to reduce the power loss over the wire, which I’m unsure on the length of. My ultimate plan is to pull a 2 AWG pair (I have lots of this left over) to replace the existing wiring at some point, which will terminate at the AM Solar combiner I used to replace the Zamp one as part of this installation.
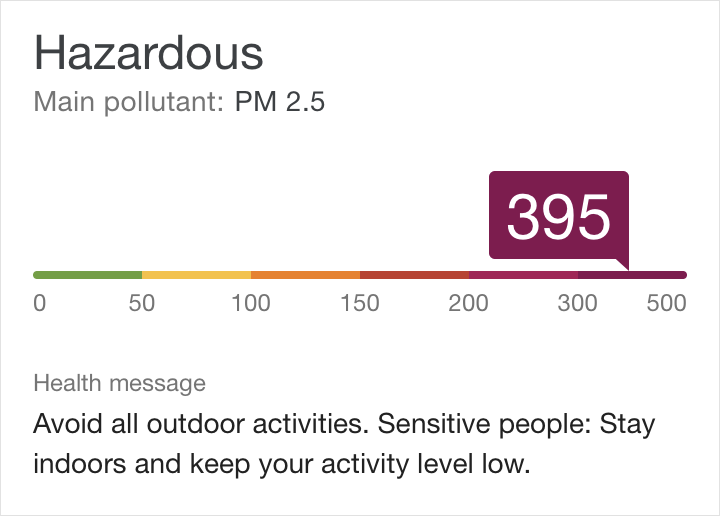
Installation started on a day where we had a brief break from hazardous-level wildfire smoke filling the sky in every direction. The first task: cleaning the roof of the ashy dust layer the smoke had deposited. I would be making a lot of penetrations through the EPDM roofing and definitely wanted to err on the side of over-sealing.
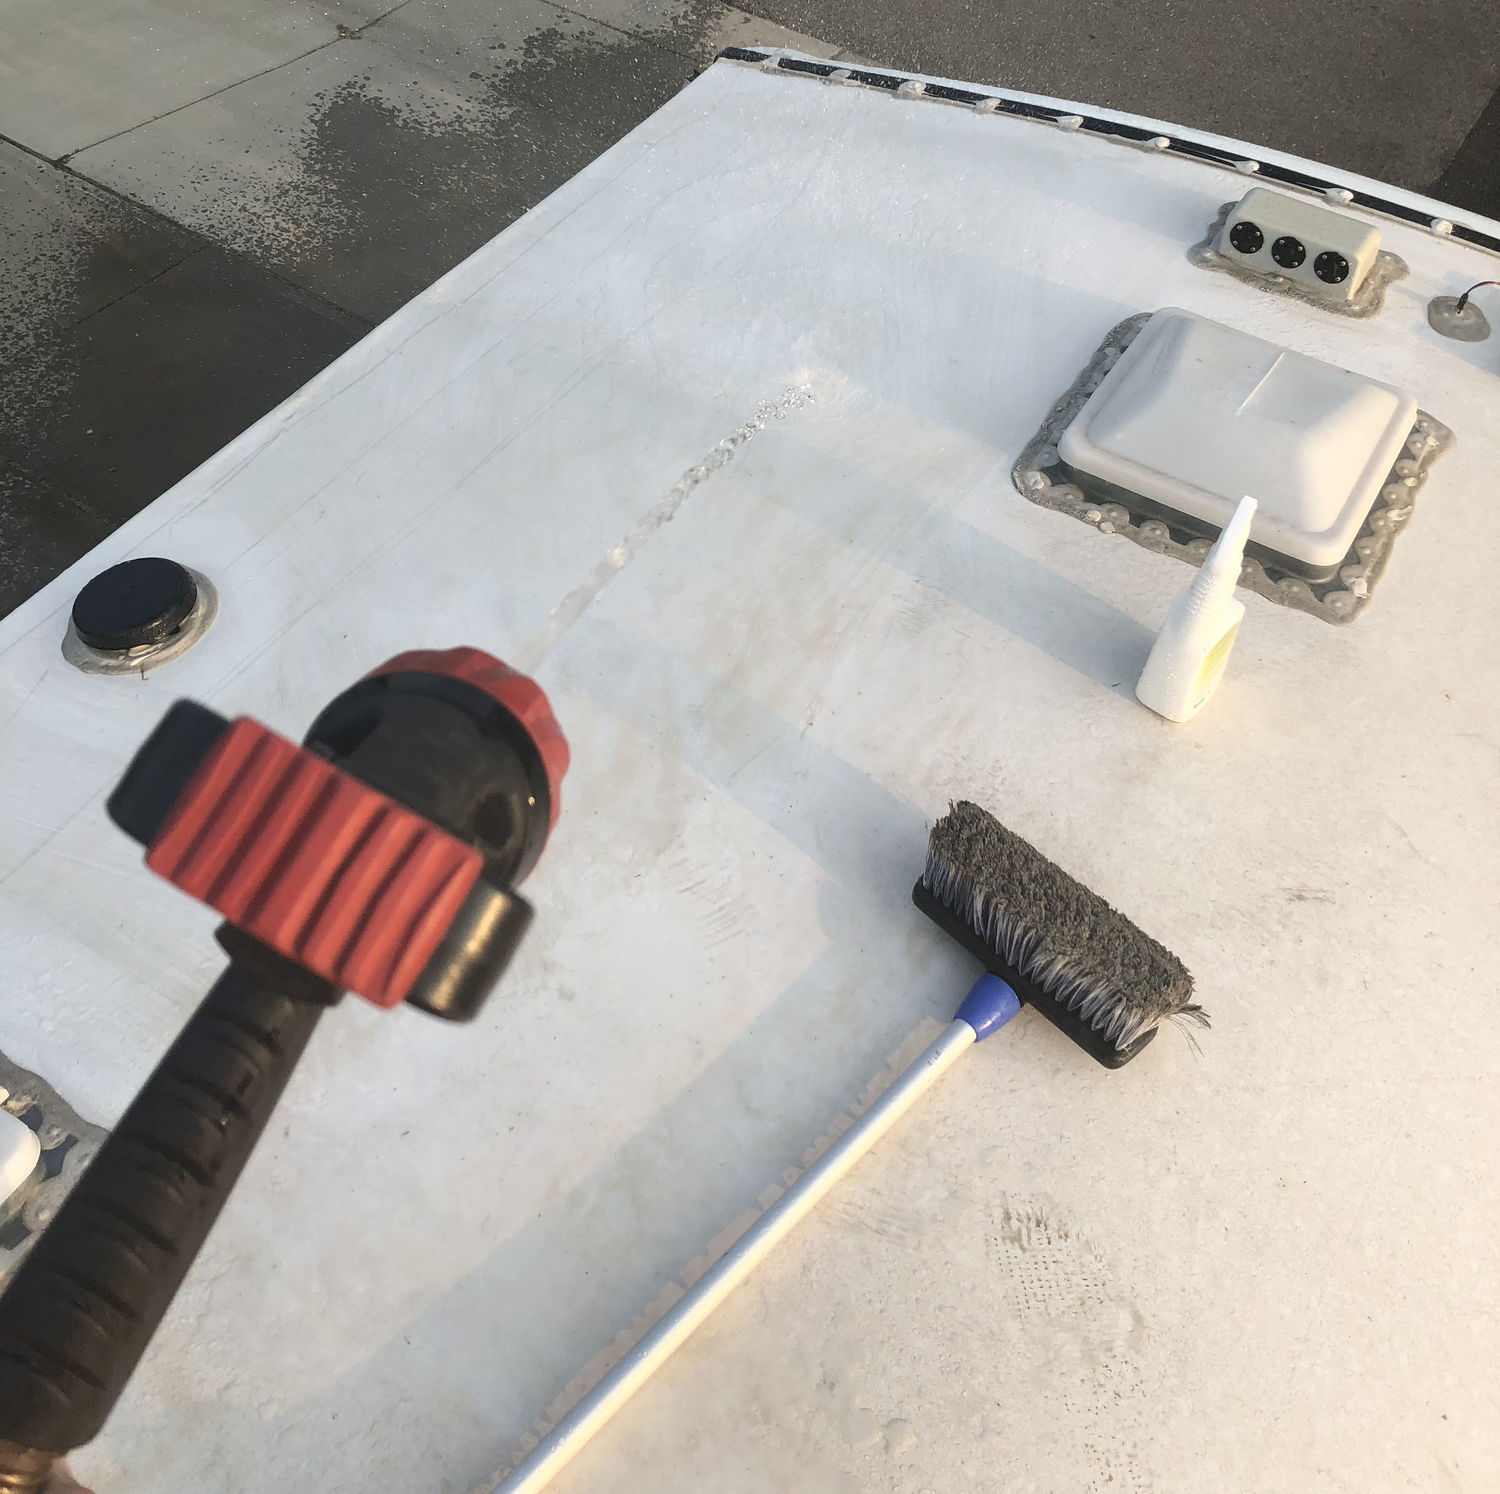
Because I started in the evening, I only had enough time to mount the first three panels. Each bracket (four per panel) was mounted to the panels, had a strip of butyl tape applied, and was placed on the roof in position. I screwed in the four included self-tapping, hex head screws on each bracket.
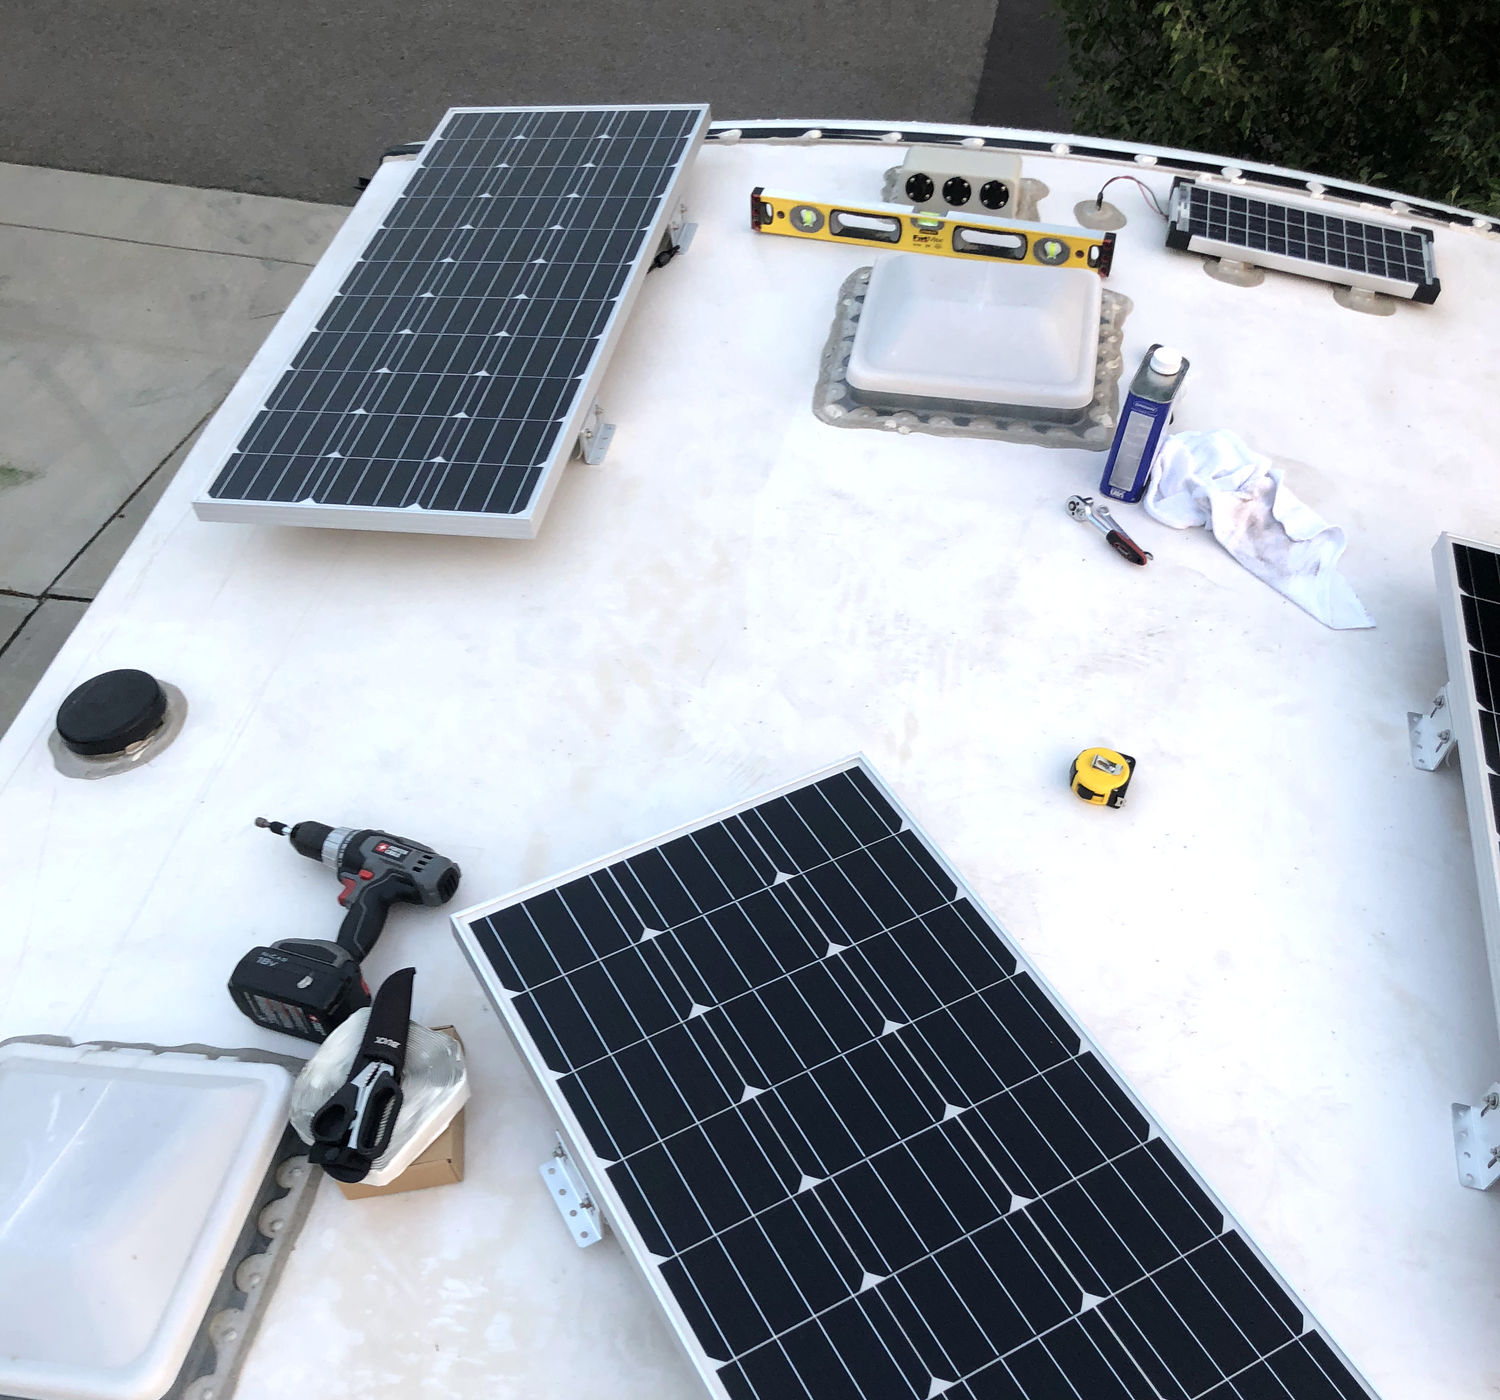
I continued with the remaining panels on the following day.
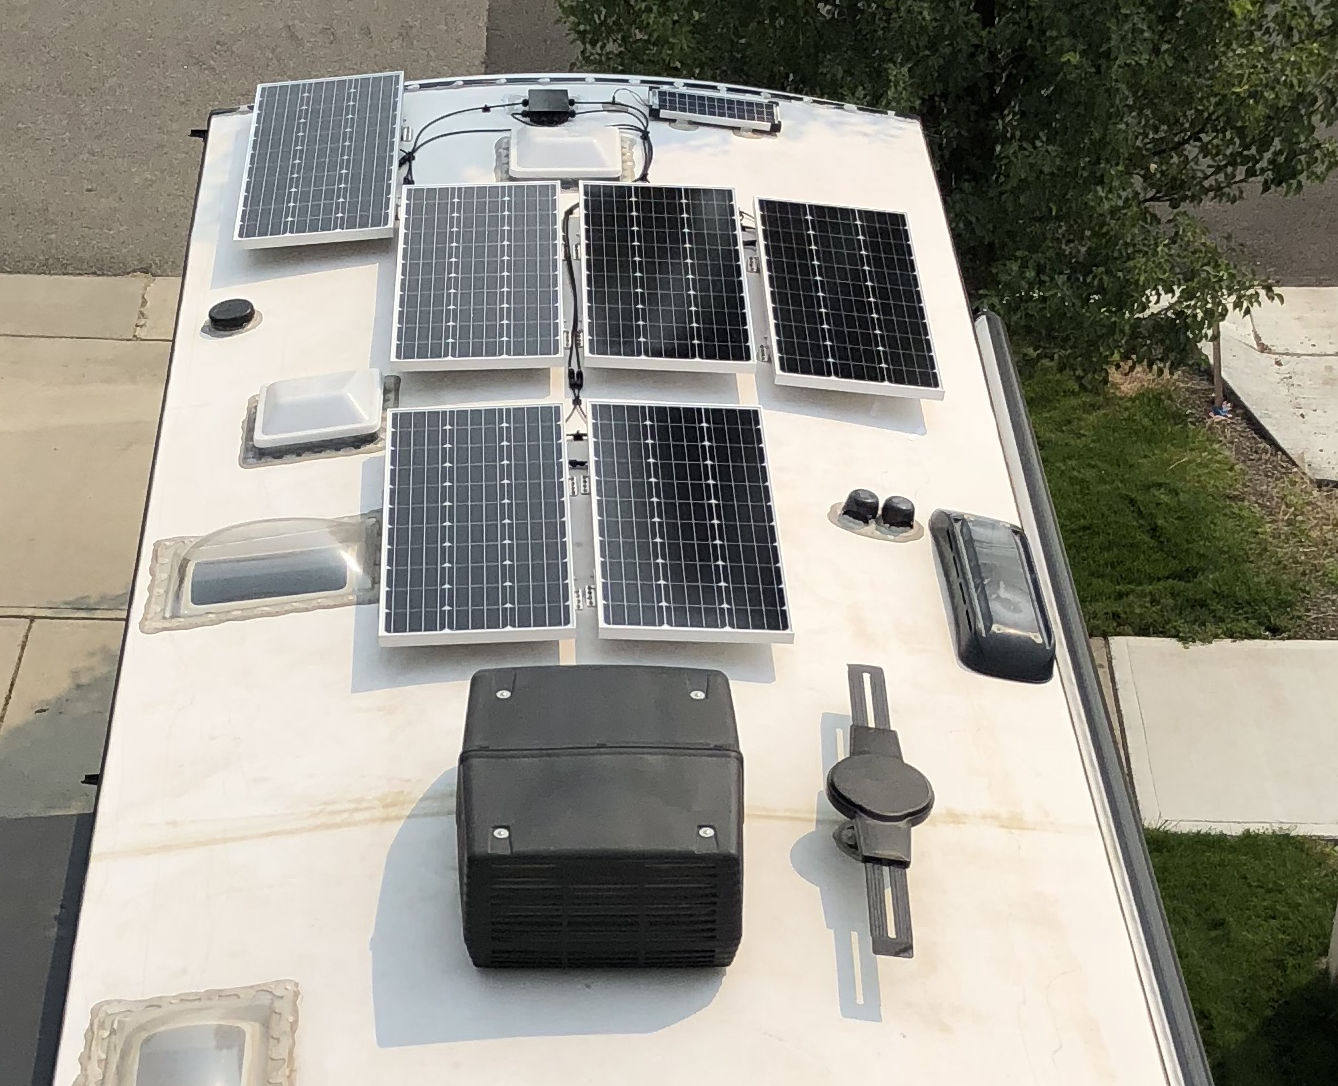
All of the panels mounted, I moved on to the combiner. The factory-provided Zamp combiner has an 8 AWG pair that splits out into three 12 AWG SAE connectors. Since I eventually want to install a higher gauge pair between the combiner and charge controller, it made sense to pull this thing off while it’s easier and to install the AM Solar one that can handle a much larger wire.
Removing the Zamp combiner meant scraping off as much of the Dicor sealant as possible and unscrewing it from the roof. I used its lead to pull up the factory prewiring (an 8 AWG pair), which I planned on using until I found a route to run the larger wiring. It’s actually large enough to handle the eventual 1200W, but it will have more power loss than I’d like and run warmer.
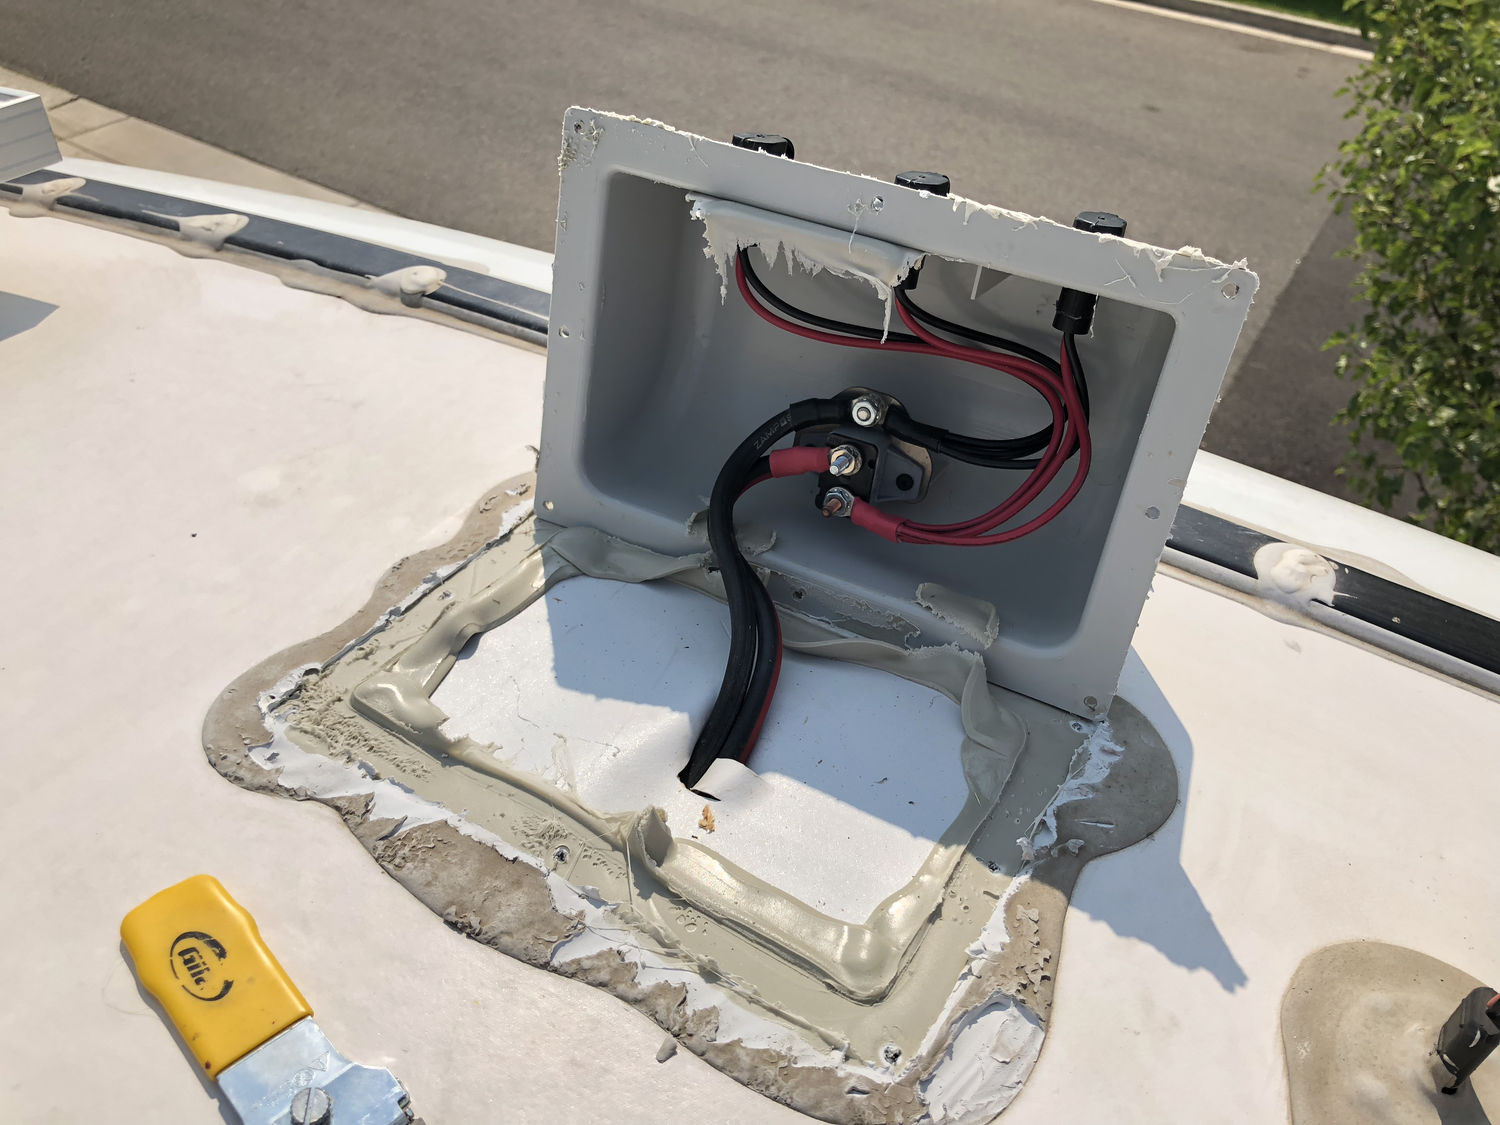
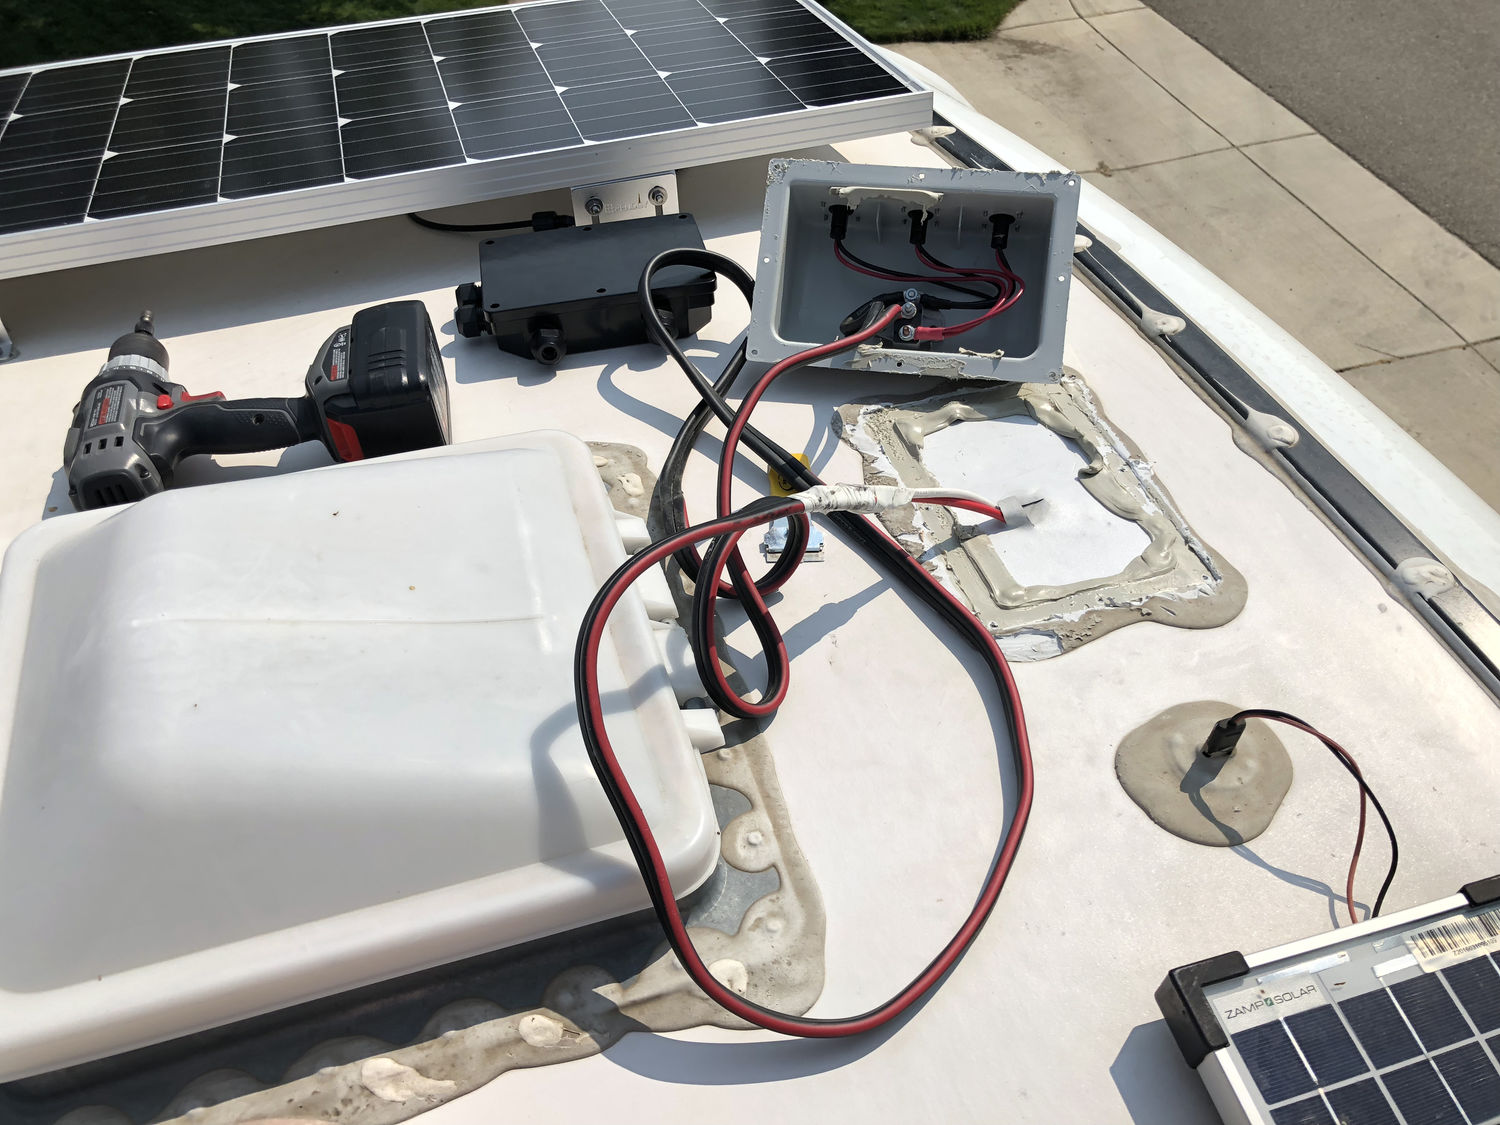
Like the solar panel brackets, I mounted the AM Solar combiner on a layer of butyl tape before screwing it down. Each of the liquid tight connectors was already installed and just needed the wire threaded through, which I did as I connected each pair. I don’t really like that I had to devote an entire port to each wire rather than one per pair, and I’ll probably be stuck adding a second combiner when I eventually add the rear panels due to lack of remaining ports.
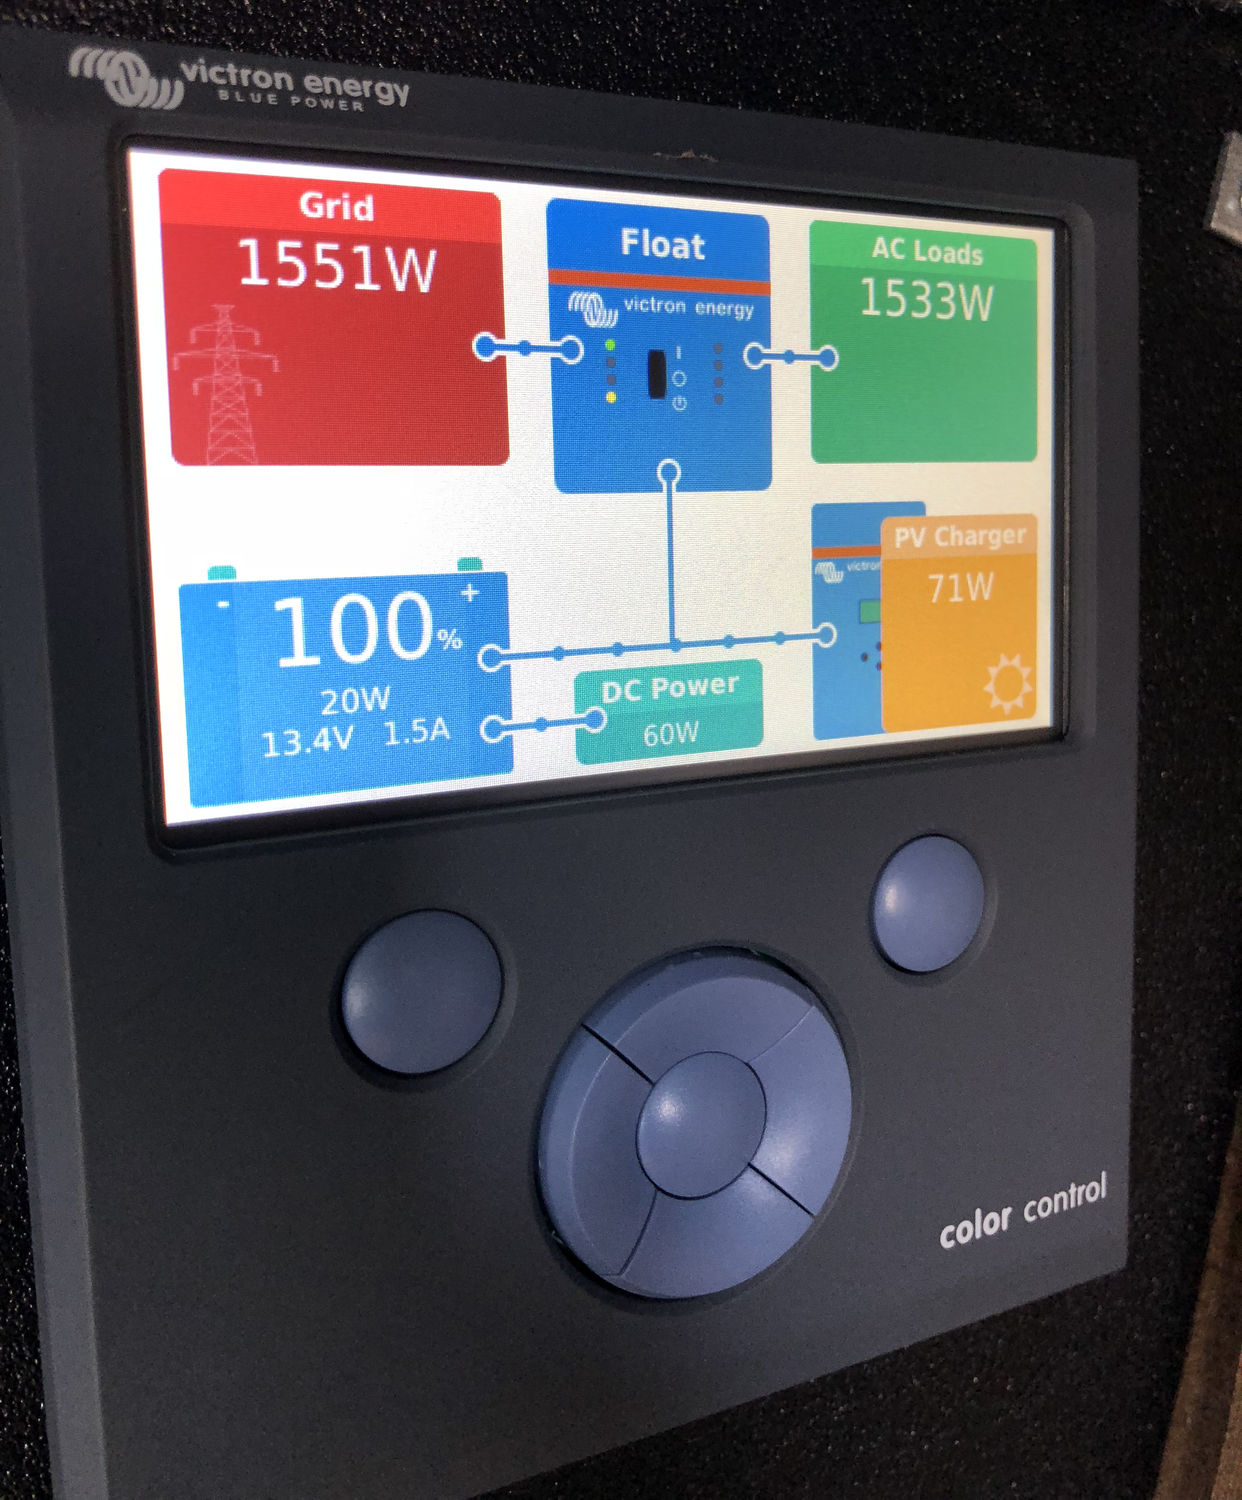
I tested the system after each string was wired in, initially finding that I had wired the main disconnect incorrectly (and thankfully not damaging anything). I had read the +/- on the breaker as meaning that polarity of wire should be attached there but later fiscovered that was solely for the direction of current flow. After fixing that bit, power started flowing into the system from the panels.
The wiring was attached to the roof by screw-down zip tie brackets and black zip ties. An important piece of information I came across during all my research is that not everything labeled UV-resistant is resistant enough for solar:
Carbon black is a major contributor to UV resistance of ties, and their longevity in the sun is dependent on the amount of carbon black used. So while using black cable ties for solar is the right way to go, the amount of carbon black really determines the ties’ lifespan.
With a lack of standards as to what “UV-rated” means, a tie could have as little as 0.03% carbon black and still make that claim. There have been many studies, originating with Bell Labs in the 1950s, that show around 2% carbon black as the optimum amount for extended life expectancies in outdoor wire applications. In addition to the amount of carbon black, smaller particle sizes and good particle distribution within the molded part also play a role.
In other words, don’t trust the cheap zip ties on Amazon. I used these: HellermannTyton T50R0UVC2 UV Resistant Cable Tie, 8″ Long, UL Rated, 50lb Tensile Strength, PA66UV, Black (no link because I don’t trust it to remain live over time).
Everything mounted, it was time to seal. I used Dicor self-leveling lap sealant and split the work over two days because I completely underestimated how much of it I would need. The back side of the brackets was somewhat difficult to reach with the caulking gun, so I ended up fabricating a flexible tip for the tube out of some leftover heat shrink. It was much easier to apply sealant in the tight spots with that attached.
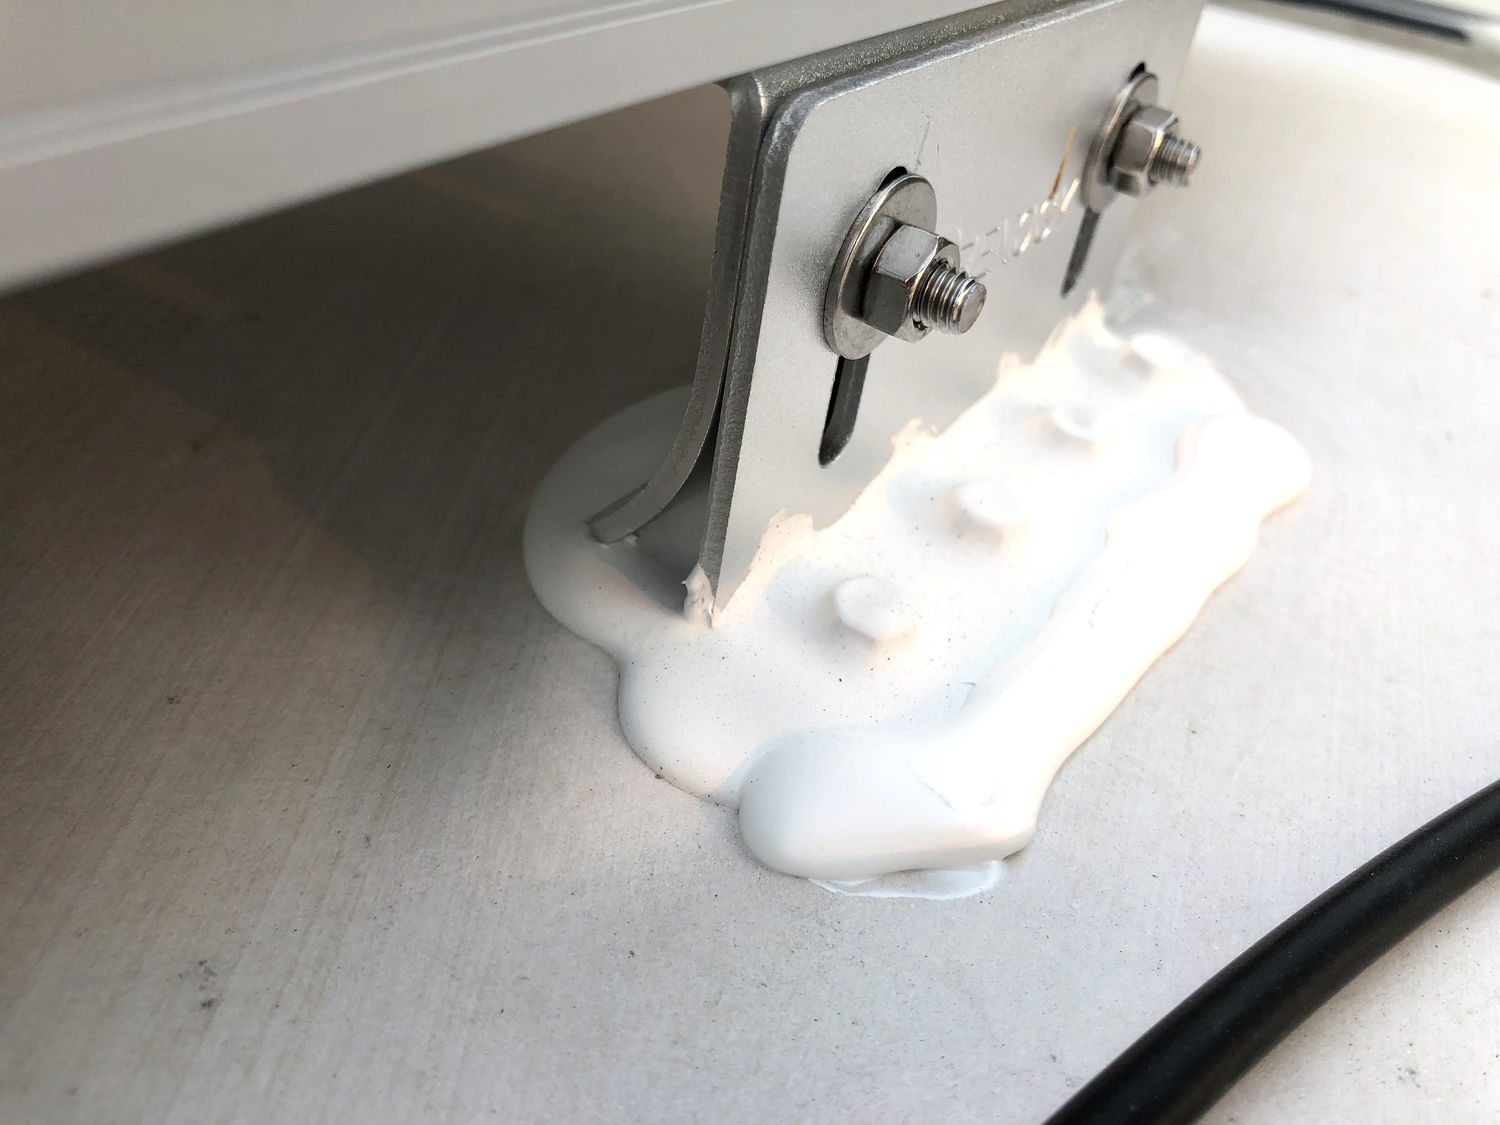
With that done, installation of the first half of the panels was complete.
