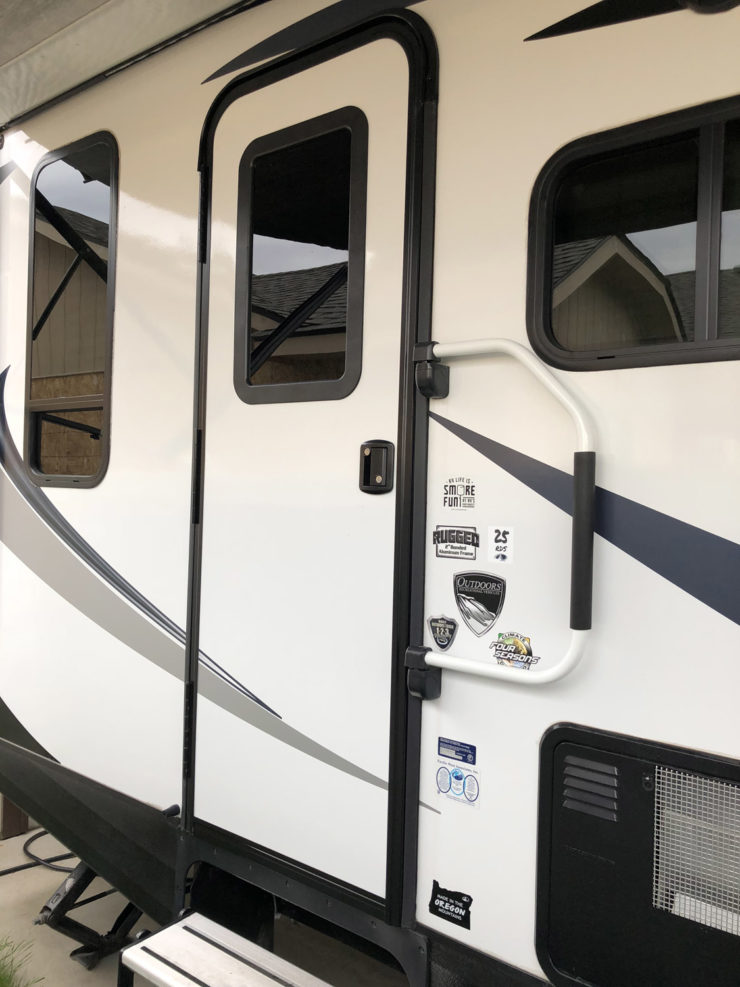
The trailer has nice tinting and blinds on all of its windows except for the two doors. Those got a single pane of opaque, frosted glass that often lets in more light than its surrounding windows combined. While not an issue most of the time, it was really annoying in the morning, especially since we seem to have a habit of parking with the doors facing east/southeast.
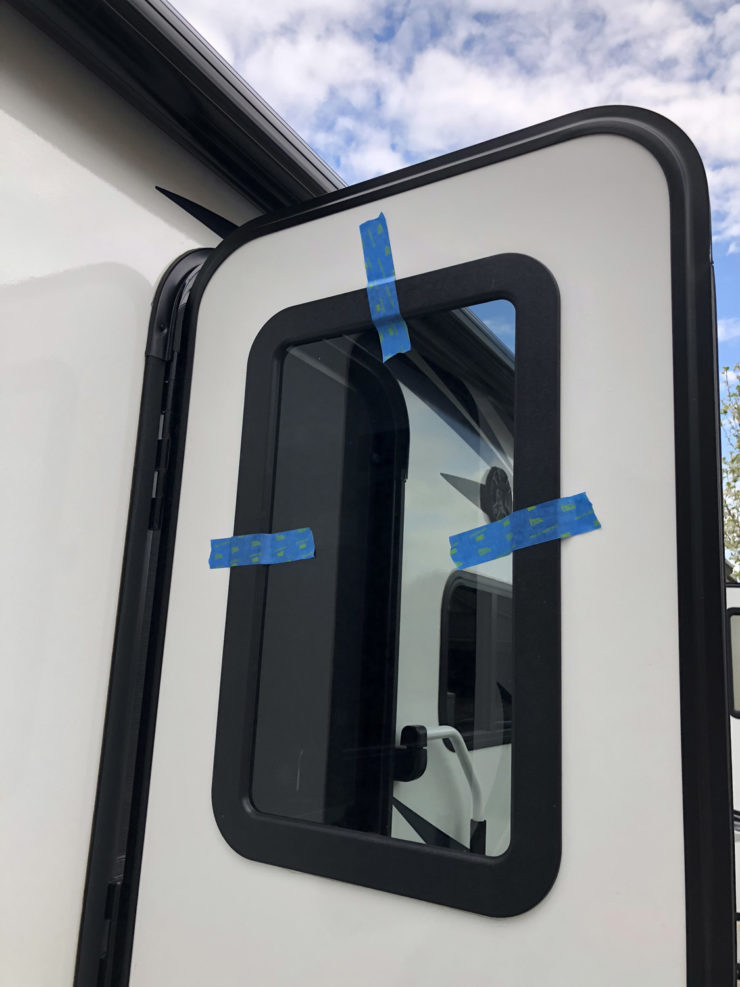
RV door windows are a fairly standard size (roughly 12″ x 21″ visible), thankfully, so there are some off-the-shelf replacement options. I chose a product called Slim Shade by AP Products. It’s a single-pane, tinted window with a built-in black shade, which solves the issue of unwanted light and fulfills one additional want: being able the see out the window. The shade actually blocks more light than the factory ones in the trailer.
Removal
The first step was to remove the old window — it’s held in place by a two-piece plastic frame that attaches to itself through the cutout in the door. I used some tape on each side to anchor it lightly to the wall before removing the screws holding the two sides of the frame.
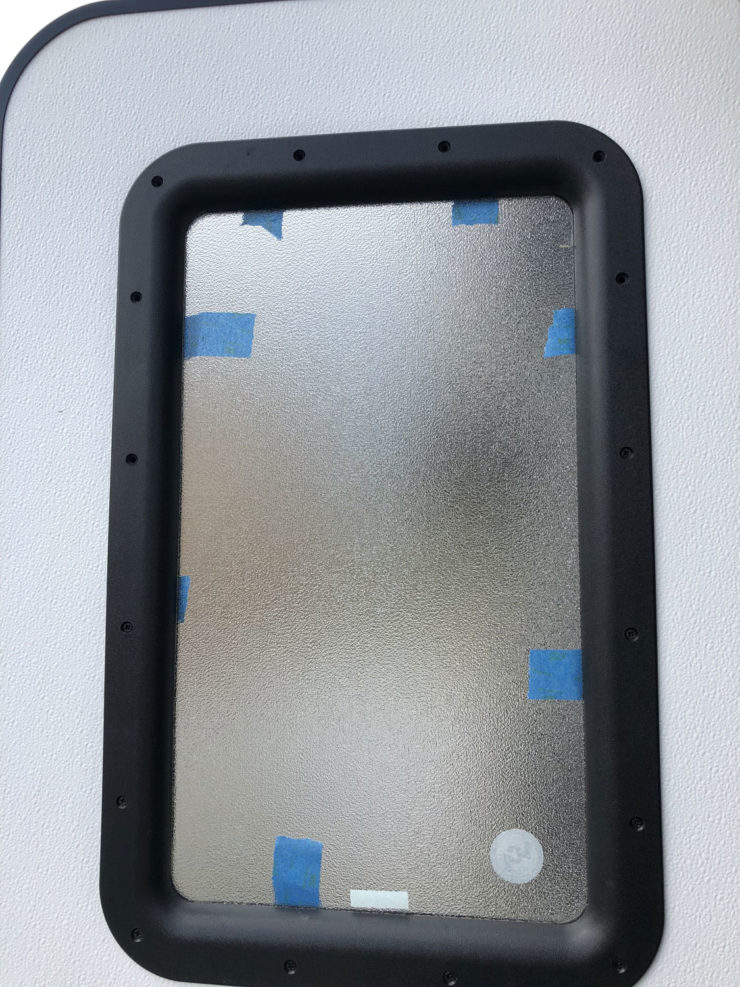
After removing the screws, I removed each side of the plastic frame, one side at a time. The pane of glass was adhered to the outside of the frame by the bead of caulk that made it water-tight, and the outer edge of the plastic frame had an additional bead for water sealing.
Installation
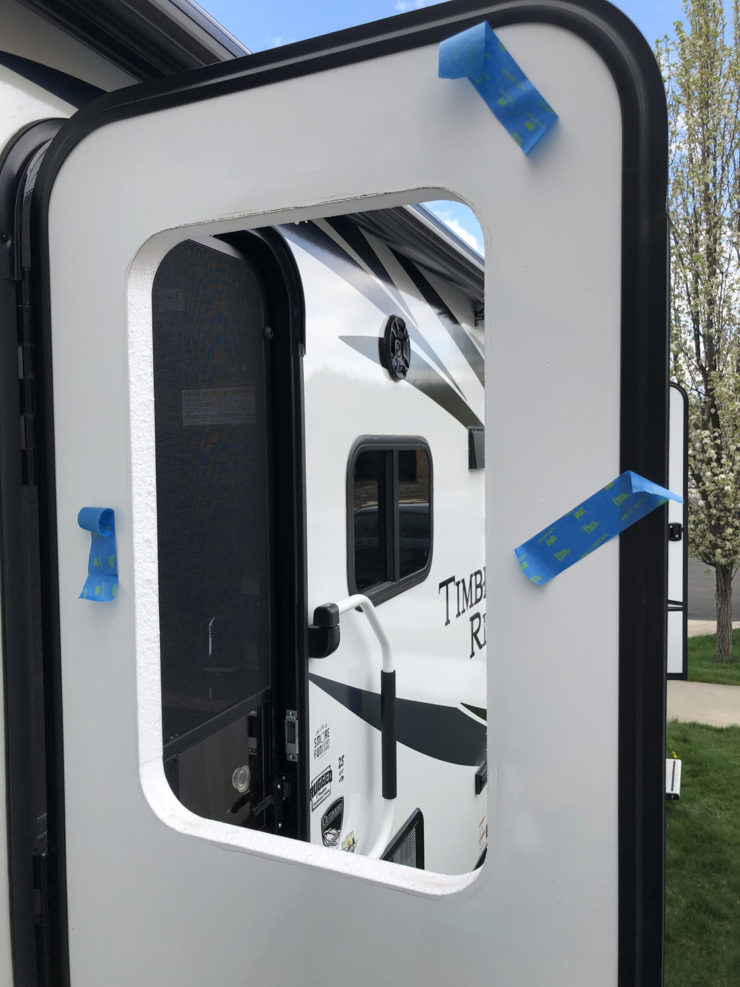
Installation was basically the reverse. Nothing was re-used — he kit included replacement frames, glass, screws, and the blind component. I started with the outer frame and tinted glass piece, the appropriate sealant already having been applied by the factory.
Inside, I placed the blind into the track it follows (the top is fixed in place, though you can flip the whole assembly if a top down opening is preferred). The inside frame was next, and I screwed that into place, tightening until all edges of both frames were flush with the door.
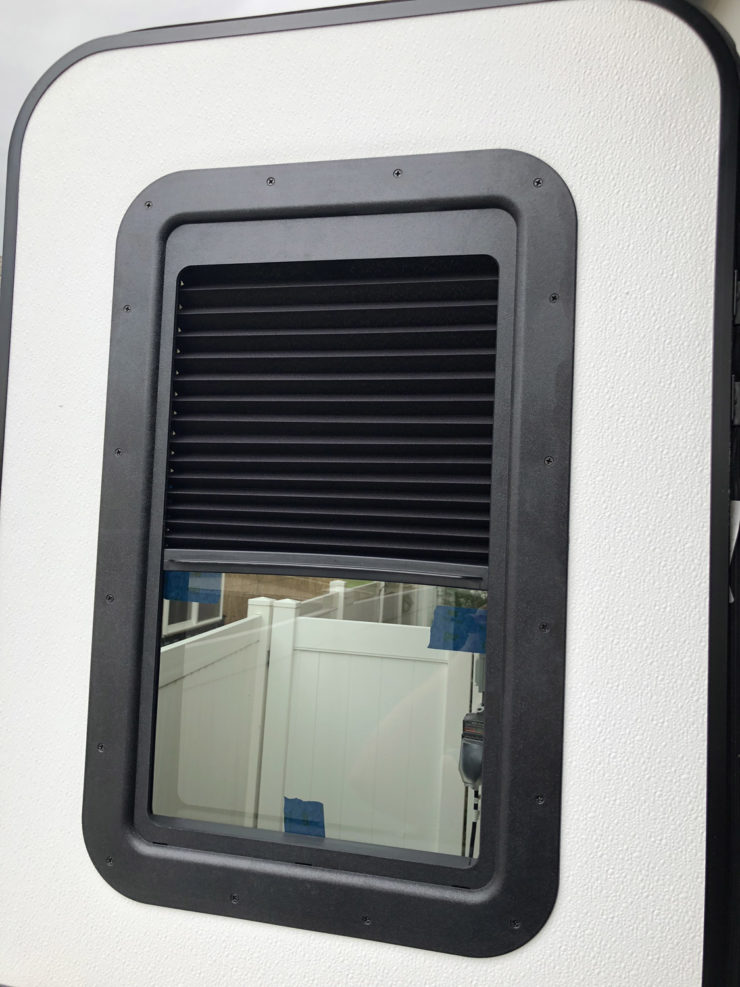
Overall I’m pretty happy with how this came out — it fits in very well with the overall appearance of the trailer. While it can’t be operated without opening the door due to the screen, we don’t actually open or close it often enough for that to be a major annoyance. The only downside is that I now have two perfectly good door windows I have no use for.