
An event that the crew from Outdoors RV did at the campout this year was a seminar covering the general preventative maintenance techniques needed by the trailer’s exterior (primarily for leak prevention) and the hubs. As part of it, they brought a roof section, a wall/window section, a functional mini Schwintek slide, a wheel and hub minus the tire, a rack & pinion slide motor, and a wheel bearing cutaway. They also demonstrated the manual retraction methods for both slide types they use: Schwintek (side rails) and rack & pinion (bottom rails).
All seals for anything penetrating the unit are double seals for water protection. The first seal is either butyl tape or an oil-based putty depending on the location on the trailer. The second is Dicor lap sealant or Geocel 2300 (often sold as ProFlex RV), also depending on the location. Basically, any area where two different surfaces meet will have a seal.
Roof Seal Maintenance
Recommended interval: check every 90 days, touching up as needed
All ORV trailers use Dicor EPDM roofing with Dicor lap sealant. The roofing warranty from Dicor is 12 years against manufacturing defects and requires no cleaning or UV treatment. Owners may choose to do either for aesthetic reasons but must ensure the products are compatible to maintain the warranty.
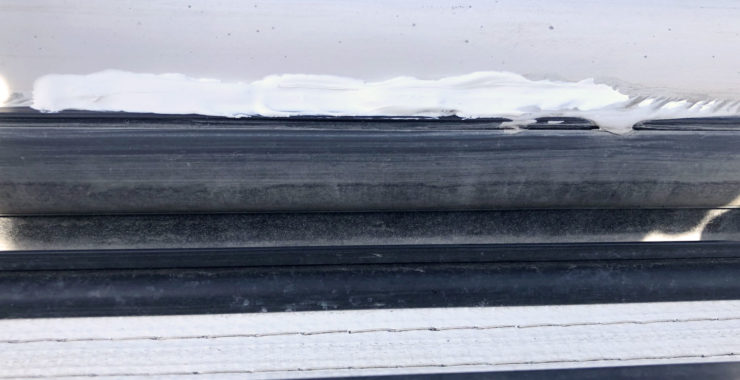
Lap sealant is used to seal all edges and penetrations to maintain waterproofing. It comes in multiple consistencies, and the factory uses the “Dove” color (off-white) with the same consistency for everything. Readily available consumer versions come in self-leveling (horizontal surfaces) and non-sag (vertical surfaces).
It is not necessary to remove old lap sealant before applying new — the old just needs to be cleaned first. Cured lap sealant can be most easily cleaned with Dicor’s own cleaner, a dish soap/water mixture, or with mineral spirits (very little on a rag, never poured on the roofing directly or it will damage it). Once cleaned and dried, new lap sealant should be applied to all exposed screws or where the existing lap sealant has separated from what it was originally attached to (this often looks like cracks).
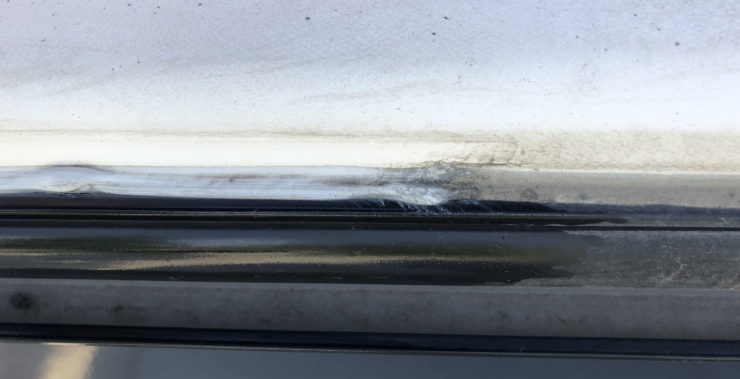
The left half is cleaned, the right half is not. This is an area often overlooked — the seal between the side gutters and where the roofing edge is attached. It’s important to avoid using the self-leveling version in this location as it will just fill the gutter.
Wall Seal Maintenance
Recommended interval: check every 90 days, touching up as needed
Wall seal maintenance starts by trimming any putty bleed with a plastic knife. It squeezes out over time, more or less depending on the environment, and for the best application of the Geocel, it needs to be trimmed off prior. Residue on the fiberglass wall can be cleaned off with a citrus-based cleaner like Goo Gone or mineral spirits.
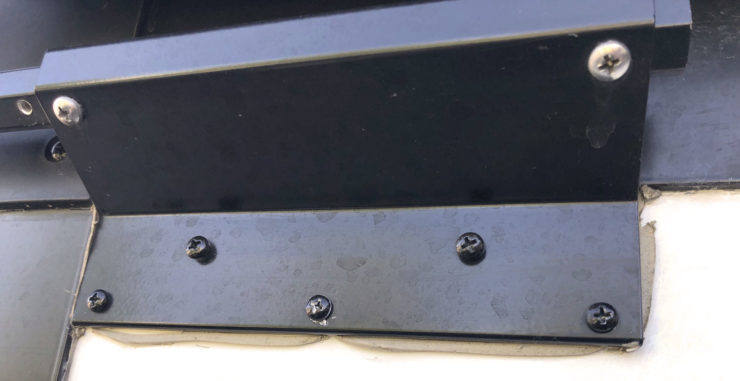
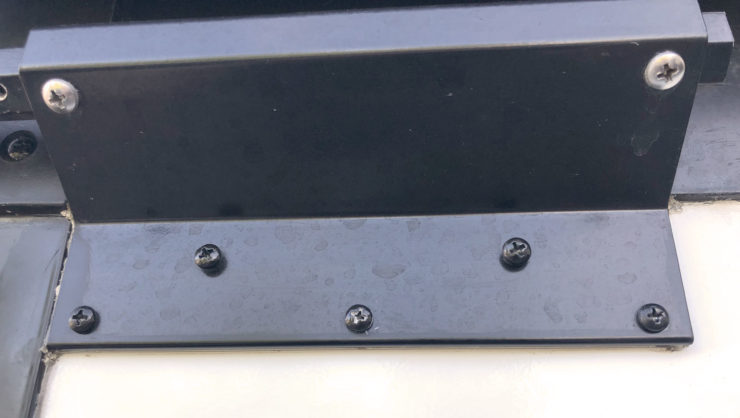
Once any excess putty has been removed, the Geocel can be applied. Like Dicor, it will stick to itself, so there’s no requirement to remove it prior. Removing it can be fairly difficult and is probably best avoided when at all possible.
The technique used in the demonstration was to cut the tube’s tip very small (no larger than about 1/8″) and to use an almost directly downward angle while pulling it along the edge to be sealed. The downward angle is used to force Geocel into any gaps in the underlying putty/butyl for a better seal. Once applied, it was then sprayed with a dawn soap/water solution and smoothed with a finger for a nicer final appearance.
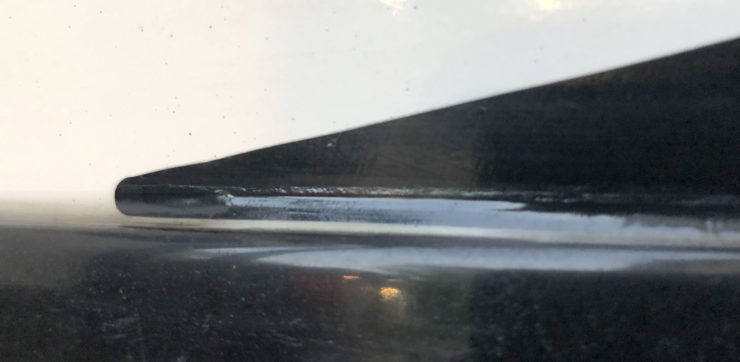
The primary areas highlighted for sealing were:
- Around windows and door penetrations. As the putty bleeds over time, it can leave voids in the primary seal. A half cap Geocel seal (top and upper sides) was recommended as the minimum, but a full permiter seal is even better. The demonstration was on a regular non-Titanium Series window (not flush-mount), which is what we personally have, so I am unfamiliar on the process for the flush-mount windows.
- The black trim along the edges of any slide.
- Black corner trim at any right angle (e.g., the back of the trailer).
- The trim piece where the fiberglass wall meets the black metal lower skirt.
- The seam in the gutter where two pieces meet and drip through.
Slide Lubrication
Recommended interval: as needed (i.e., when it makes noise)
The rack & pinion style slide does not need any regular lubrication, often making some noise even in full working order. The Schwintek tracks can benefit from it, however, and should be cleaned of dirt and sprayed with CRC Dry PTFE Lubricant.
Wheel Bearing Lubrication
Recommended interval: annually or every 12,000 miles
As long as not experiencing any symptoms of a problem, ORV recommends a biannual approach: use the “E-Z Lube” hub one maintenance interval and do a full bearing inspection/re-packing on the next. Using the “E-Z Lube” hub just refreshes the grease and does not actually allow inspection of the hub assembly and bearings.
All axles installed by ORV are Dexter axles with auto-adjusting brakes and an “E-Z Lube” hub. The hub has a small cap that can be removed to reveal a rubber cover over a grease zerk. Prior to injecting any grease in, the wheel should be jacked up so it can spin freely (it’s often easiest to do one at a time).
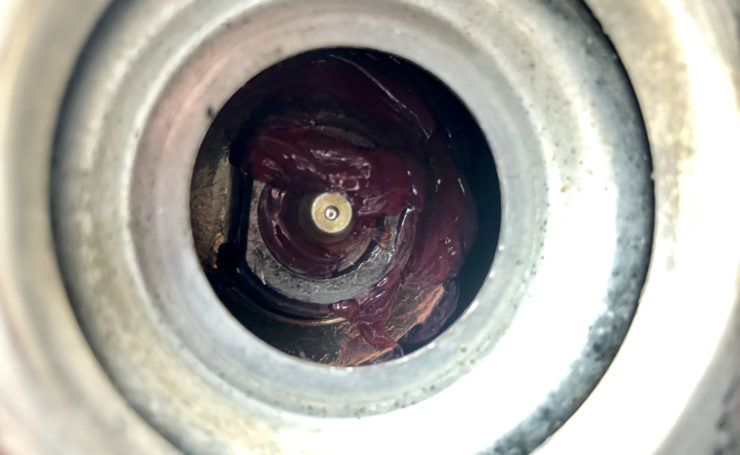
Once jacked up, grease can be injected while slowly spinning the wheel. Because the grease only comes out of a single hole near the back of the bearing assembly, spinning allows it to distribute more evenly. As more grease goes in, old grease should start to be pushed out the front, and once the new grease reaches the front, that’s when the process is done.
Dexter’s recommended grease is on page 53 here.
Manual Slide Retraction
Schwintek
Manually retracting the Schwintek slides should only be done if resetting the controller does not solve the problem or is not an option. The controller will be in an access area somewhere near one of the motors and varies based on the floorplan.
The Schwintek drive motors must be disengaged to allow for the slide to be manually pushed in — there is one on each side in line with the topmost track. Accessing them is easiest from the outside where the seal can be pulled back to get at each of them.
Once revealed, the motor must be pushed/pulled up to disconnect it from the gearbox, then rotated to prevent it from falling back down and reconnecting. This may require some gentle prying with a flat screwdriver.
After both motors are disconnected, the slide can be pushed in. Only friction is holding it in place at this point, so for any transport, you should place blocking on top of the slide inside between the outer wall and inside front of the slide to hold it in place.
Rack & Pinion
The motor for the rack & pinion slides is next to one of the arms in the underbelly, and there is an existing access hatch for it. On one end of the motor is a rubber boot that covers an electric brake, which must be disconnected.
Once the brake is disconnected, there is a hex head on the motor that can be turned with a socket wrench to retract the slide (ORV recommended NOT using a drill to do this). Re-engaging the electric brake at the end will hold it in place for transport.