
Nothing highlights the flaws of an RV like winter. Whether it’s a small gap connecting unheated space, a poor HVAC layout, weak circulation, or a noisy blower, winter weather manages to highlight each one. Over the course of our outings during the first winter of ownership, I addressed each one as best I could.
Sealing Gaps and Improving Insulation
The bed in our trailer sits at the hitch end above the main storage bay, and that storage bay is unconditioned space. For most of the year this is a non-issue, but when the air is cold outside, heat is constantly lost through the thin separation between the two spaces. That unconditioned space is a source for cold drafts, cold surfaces, and easily creates a sheet of condensation.
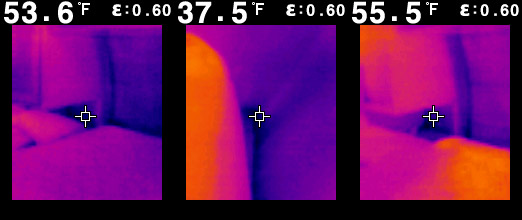
Using a thermal camera I mapped out the problem areas: the nightstands and the head of the bed. Each nightstand was separated from the unconditioned space by at most an inch of empty space or plywood, and the bed itself was separated only by plywood that itself had enough of a gap at the front wall to allow a decent draft through. Prior to any improvements, the head and tail of the trailer usually measured 15°F cooler than the center.
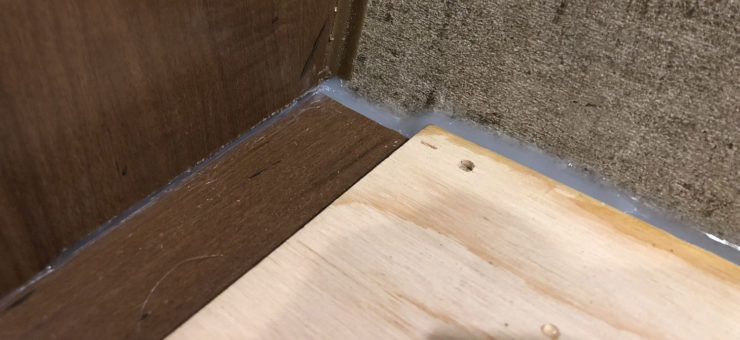
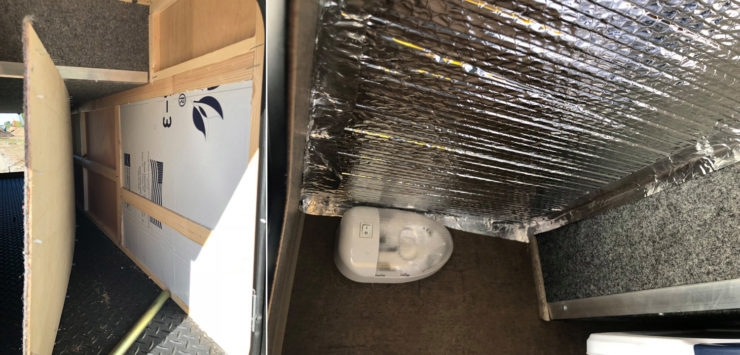
I sealed the gap with some clear silicone I had left over from another project and used a couple sheets of foil-lined foam insulation (the thickest that would fit was only R3.2) to better insulate the nightstands and under the mattress. I added a layer of Reflectix over it all to finish it.
Circulation
During an especially cold outing, we awoke one morning to a thin sheet of ice on the rear wall behind the dinette cushions. RVs are very prone to high humidity in the winter due to their small size and limited outside ventilation, and the unmoving air at the rear of the trailer and cold wall provided the perfect recipe for condensation to form and freeze.
There is a product called Enkadrain, made up of a layer of rigid plastic fibers and a layer similar to landscaping fabric, that was originally intended for addressing moisture issues with concrete slabs and providing air movement. Many people have begun to use it in RVs and boats for the same purpose; placed adjacent to a condensation-prone surface, it can allow enough circulation to eliminate it.
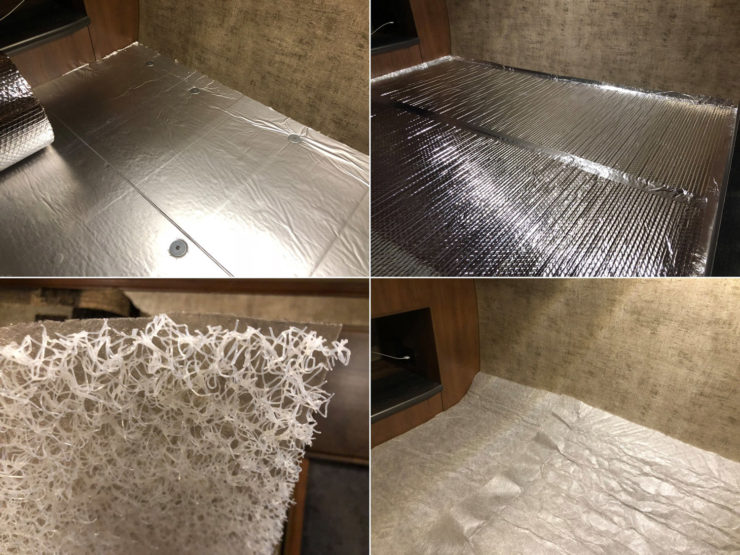
Our two problem areas were under the mattress and behind the dinette cushions, so I added a layer to each. So far, it has done exactly as intended, and I augmented it further with a dedicated dehumidifier for winter use. The dehumidifier also doubles as something of a recirculating fan to keep the air moving.
HVAC Ducting
The trailer’s HVAC system is split in two: air conditioning mounted to and ducted through the ceiling and the furnace mounted to and ducted through the floor. For winter use, only the latter mattered, and its design fell a little short.
The heating ducting serves the dual purpose of keeping the holding tanks thawed in cold weather and heating the trailer. It runs from the foot of the bed to the edge of the dinette and has four floor vents, one on each end and two in the center (one on each side of the bathroom wall).
Having two vents in the center so close to where the furnace attaches to the ducting means that most of the airflow exits those two vents. This is a huge contributing factor to the 15°F temperature differential I mentioned previously, and to compound it further, the thermostat sits on the wall between the two vents. The thermostat reaches the set temperature long before the rest of the trailer does, requiring a set point of 85°F to get the ends out of the 60s.
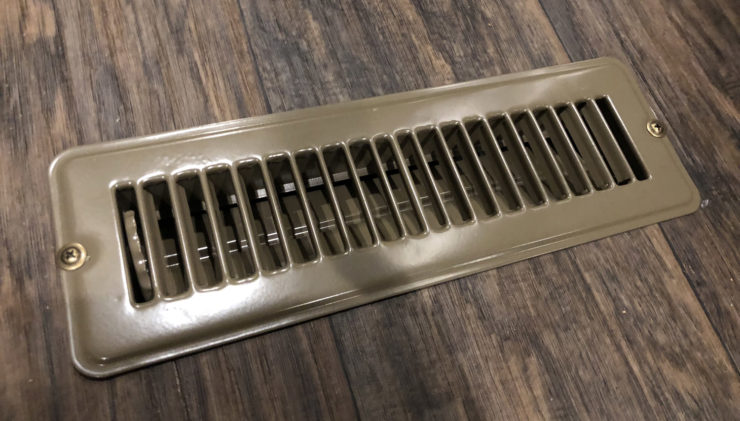
Fortunately, this was an easy fix. I replaced the vent with one whose airflow could be adjusted up to the point of completely shutting it off when wanted. Combined with a more accurate digital thermostat, I was able to reduce the temperature differential by about half.

Furnace
After a winter of using the trailer, there was one thing in particular I was reminded of every outing: the furnace is LOUD. Thin walls reduce overall weight, but it comes at the expensive of more rapid heat loss, which means the furnace turns on a lot (I even upgraded the batteries because of the amount of power used overnight).
The Suburban SF-35Q furnace is installed below the fridge, which sits roughly in the center of the trailer. Its cold air return faces inward towards the main hallway and is the source of most of the noise. A few inches behind its grate is the furnace body, which is mounted to the floor to connect into the floor register ducting, and it’s that blower that produces an incredible amount of unmuffled noise.
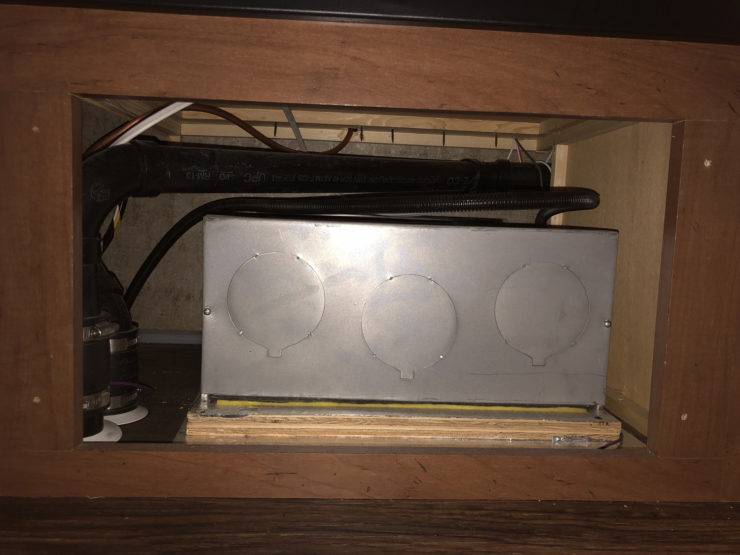
Since the majority of the noise is coming through the cold air return, I wanted to install some kind of noise-damping barrier to quiet it as much as I could. After researching sound studio panels, car sound absorbing mats, insulation, and a variety of other options, I decided on a DIY solution. I was going to use a sheet of rigid fiberglass acoustic insulation (an NRC of 0.70) coated with a layer of neoprene/felt sound-dampening material (NRC not listed).
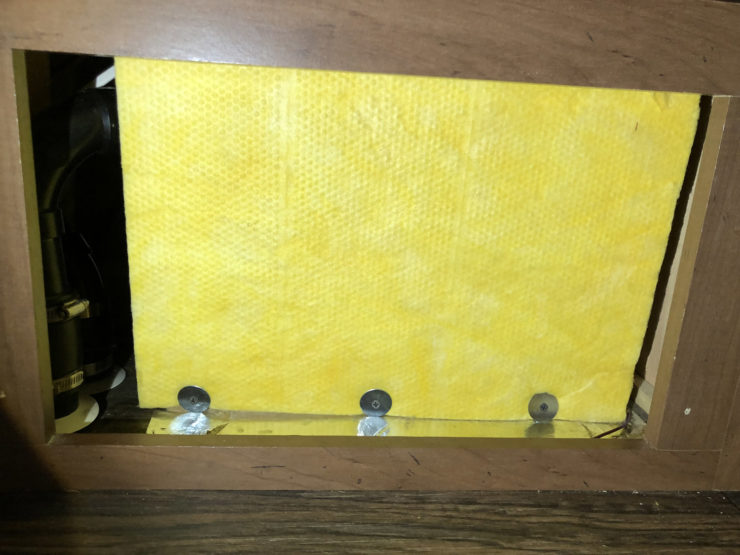
The furnace requires 55 sq in of cold air return. Without this in place it had at least 129 sq in and with it it has about 82 sq in, so it was still well over the minimum. Additionally, that entire area is open to the rear of the cabinets, so it’s able to pull air from that space as well.
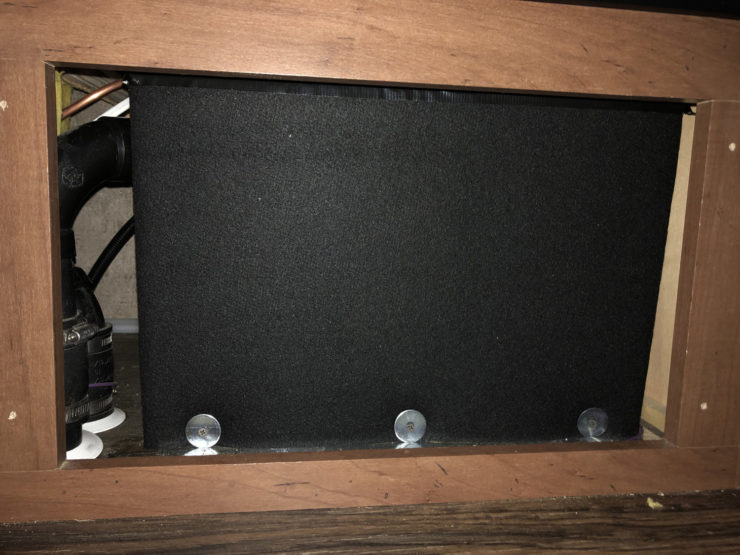
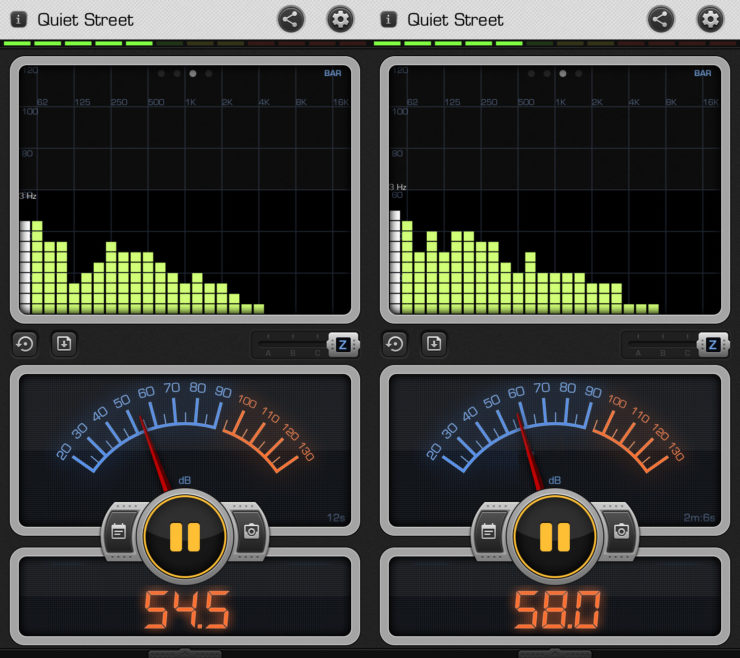
With the panel installed, I did my first test, measuring the sound level at the head of the bed (you know, the spot it actually matters). A 3.5 dB drop is about a 27% drop in perceived loudness — not as much as I was originally hoping but far better than before.
Future Improvements
All of this has worked pretty well so far, and it may turn out to be enough for winter use. If it isn’t, I have a few other ideas for additional improvements at various price points.
Secondary Furnace
$$$
The type of furnace that’s in there is relatively inefficient, providing roughly 22,750 BTU of heating per 35,000 BTU of propane consumed (65%). Its blower also draws about 150W while running, which makes it one of the most power-hungry components in the trailer.
A company named Propex manufactures a small auxiliary furnace that provides up to 9553 BTU depending on the model at 90% efficiency and a power draw of only 23W. Adding one of these and ducting it into the bedroom area would allow for the main furnace to run less at night while using both less propane and less power. It would also produce much less noise.
Tank Heating Pad
$$
Running the furnace is the only thing that keeps the freshwater tank thawed in the winter. If its runtime decreases, I may need to add a tank heating pad to compensate for it. This is something I will not do unless absolutely necessary, though, because it has a fairly high power draw.
Circulation Fan
$$
Air circulation is the best condensation preventer, and RVs do not typically have any form of interior air circulation except for the air conditioner and furnace. With how mine is laid out, it would be relatively easy to use the void behind the cabinets as a chase to suck air from one end and blow it out the other, letting the open air area form the other half of the loop. It may not even be necessary to run ducting for it, though that would ensure the air came from the end rather than through the drawers and doors.
Skirting
$$$
A popular winter option for stationary RVs is skirting. It encloses the bottom of the trailer, allowing that air to remain much warmer than it otherwise would be, which makes it much lower energy to keep the tanks thawed and usable. a normal incandescent light bulb placed in that enclosed area can be enough to keep it above freezing.
Lithium Batteries
$$$$
While not directly related to winter use, a switch to lithium batteries means they can be (and need to be) moved into conditioned space. The usable capacity drop that FLA batteries experience in the cold would no longer be an issue, so it would be that much more power that could go into heating and other winter needs.