
RV locks are not secure. The vast majority of cargo door locks share the same key among the same lock manufacturer, and the passage door locks aren’t much better, typically using one of fewer than 100 key patterns.
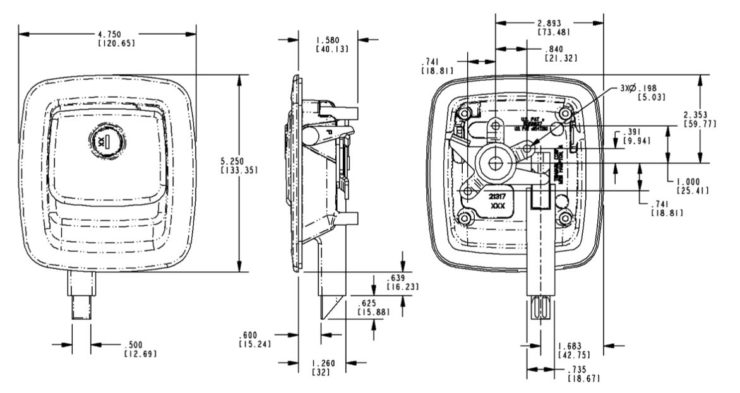
On ORV trailers, at least as of our manufacturing year (2017), the cargo door locks were a triple cam version of TriMark 060-0460 EZ Access Baggage Door Lock, and the passage door locks were each a Global Link TTL-43610-2006. The cylinder in each lock is a wafer tumbler lock allowing for the key to be inserted either direction for convenience.
The TriMark 060-0460 is the worst possible lock. While ostensibly offered in custom keyings, in practice all appear to share the same exact key: the 2001 key. This key is readily purchaseable across a variety of vendors and works on virtually every lock of this model.
Global Link’s TTL-43610-2006 is not quite as bad, being keyed in one of 90 possible keys. Still, those keys are readily available, and it’s not difficult or expensive to purchase them all. Additionally, because these are purchased randomly keyed in bulk, it’s very unlikely that an RV model with more than a single door will have matching locks.
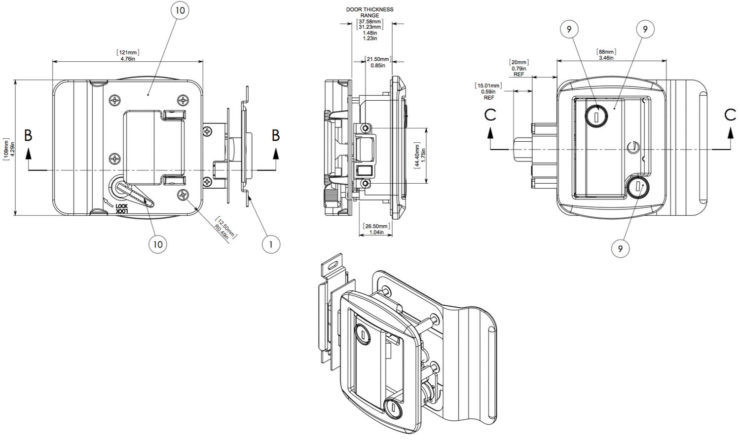
Unfortunately, no vendor anywhere appears to sell replacement cylinders for any of these locks for a DIY fix. The only practical option available was total replacement. The passage door locks were easy — there is an exact replacement that can be keyed to a unique pinning. The cargo door locks were a little more difficult.
There is no TriMark-made option that provides unique keying that I could find. I ultimately gambled by purchasing the Global Link slam latch with measurements close enough to the TriMark lock, and it was able to be keyed the same as the passage door replacement locks.
Passage Door Installation
Installation of the passage door locks was easy: unscrew the old one and remove, screw in the new one.
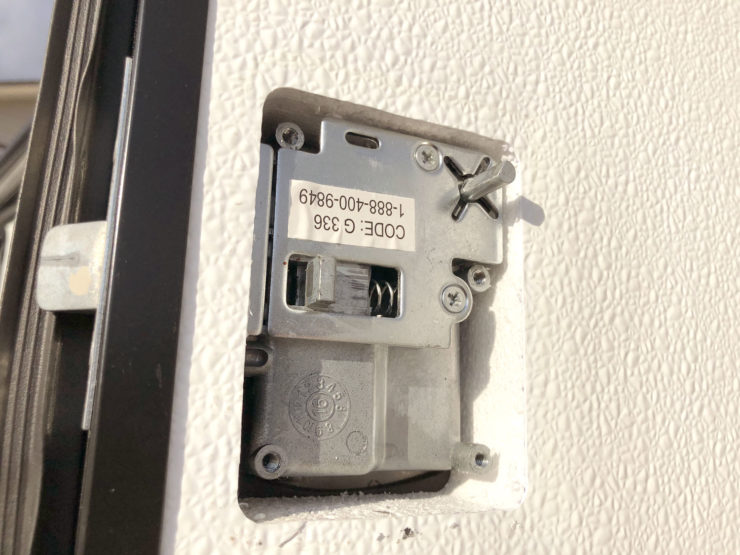
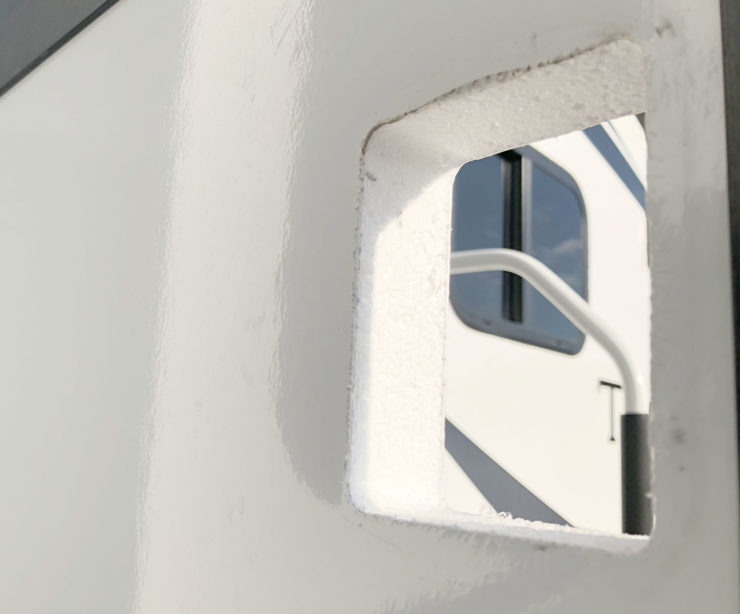
The inside of the passage door lock unscrews and pulls off, revealing the actual lock mechanics. Unscrewing the door plate allows this to pull out leaving just the cutout.
Installing the new one is the reverse.
Cargo Door Installation
Removal of the cargo door locks starts with disconnecting the cam links from the latches on either side.
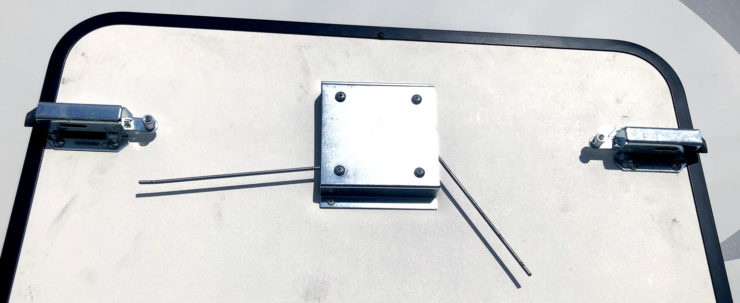
Next is removal of the four screws from the riveted cover plate. Upon doing this, the lock mechanism itself can be pulled out and the cam links detached. They are different lengths, which is important to remember for reattachment.
Because the cover plate attaches on the bottom edge, the replacement lock cannot fit without modification due to its integrated latch. This must be cut off.
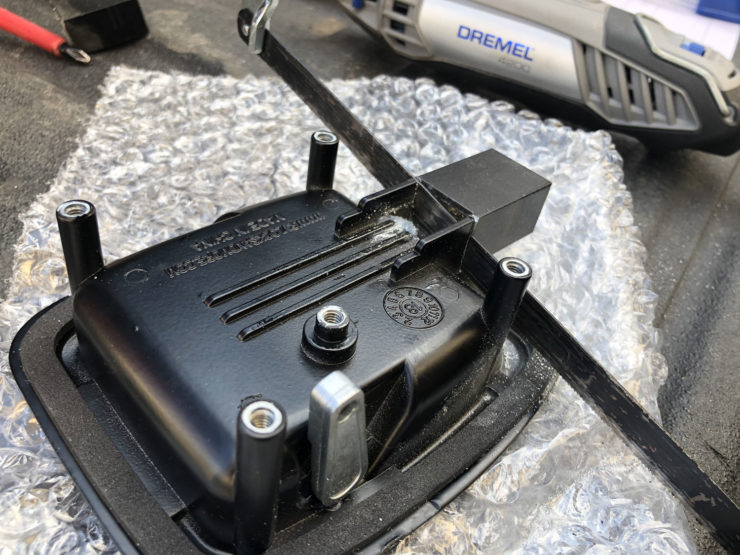
Once the integrated latch is removed, the cam can be reinstalled and the lock mechanism be put back in place.
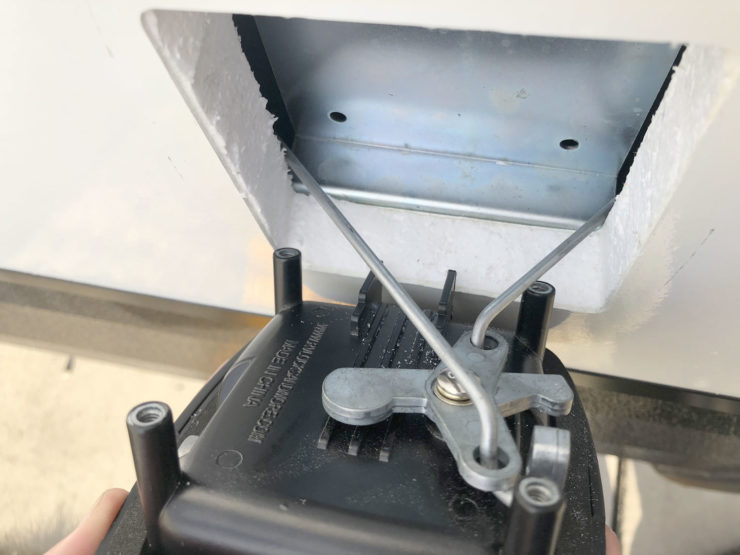
The cam links are most easily attached at this stage. There is not enough room to do it once screwed into the backing plate, which is the next step.
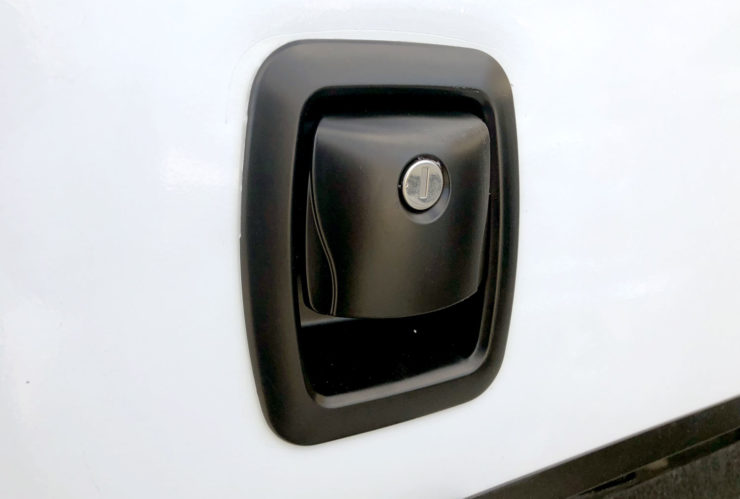
After screwing the backing plate to the lock, the cam links can be reattached to the side latches, and the lock is ready to use.
Because the bezel is slightly smaller than the previous lock, there was a slight imprint into the door from the previous lock. The obvious outline from dirt was easily cleaned off, but a slight indentation remains and is probably permanent. For me, it’s good enough, and the increased convenience and security are very welcome.
Conclusions
Security here is a relative term. The thin walls and doors are still easier to physically breach than any house door, but it’s more about just being the harder target. Thieves are opportunistic and unlikely to spend significant amounts of time in one place, so a trailer not openable by a set of generic keys is more likely to get passed over.
There’s also the convenience factor. We now only have one key rather than three.