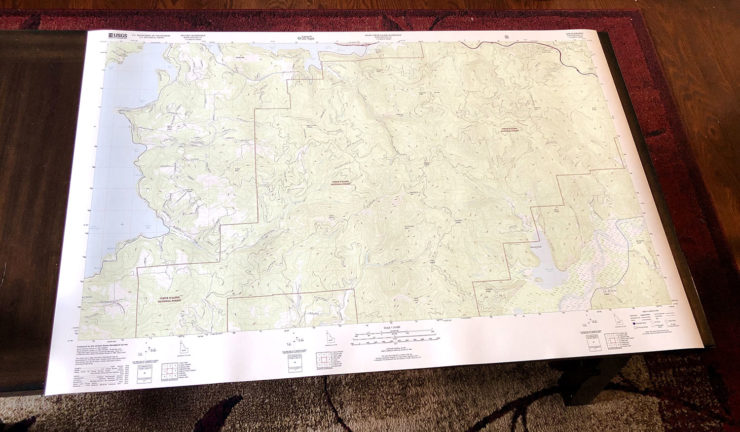
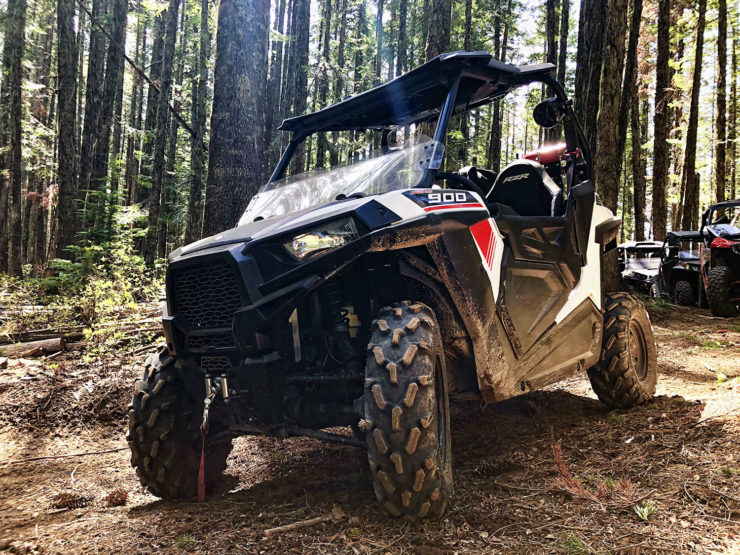
We recently adopted a new member into our family: a 2016 Polaris RZR 900. After spending the last several years riding with others, we figured it was time for one of our own.
Riding off-road (paved ones, anyway) often means zero cellular signal, which means the majority of digital maps are useless. While one or more in the group tracks the route via Gaia GPS, route planning on a small phone screen isn’t the easiest. This is an area paper maps still shine, especially topographic ones to show the terrain.
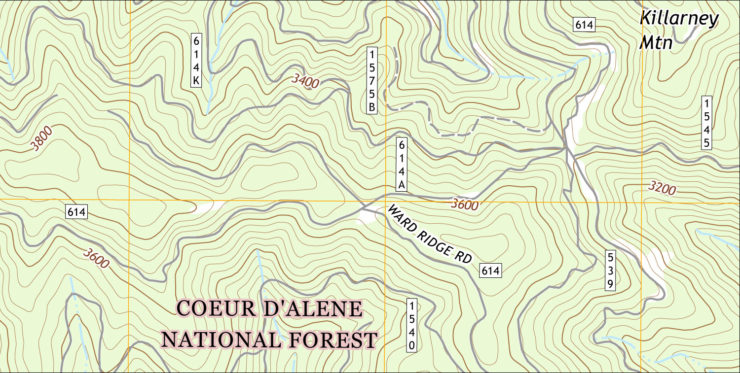
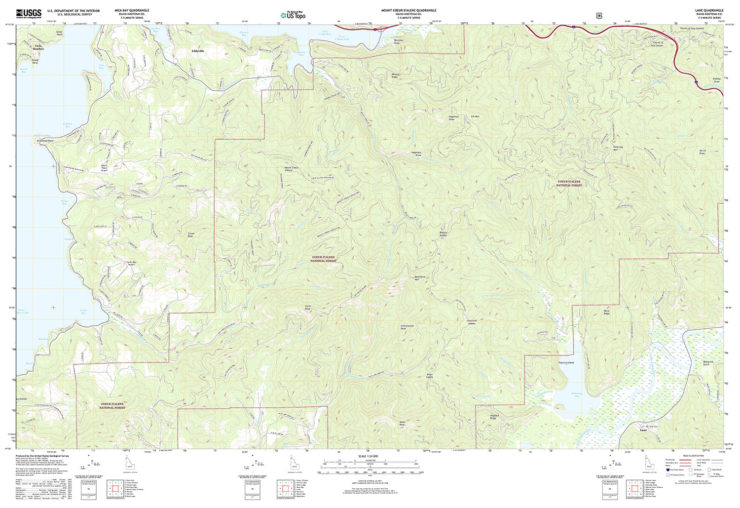
The USGS publishes a set of topographic maps at 1:24000 scale, most recently updated in 2017. Downloading free PDFs of different quadrangle sections is easy with their map downloader, but experience has revealed that you often need two or more of them for a typical ride, and it’s very, very useful for them to be combined into a single map.
Combining Maps
The USGS topo maps are great when you only need one. Each PDF is self-contained, complete with legend and other identifiers, but they’re not easily merged. Short of spending thousands of dollars on GIS mapping software, the only way I’m aware of for doing so is to rasterize the PDFs to the desired size and merge manually in an image editor.
After some experimentation, my minimum legible size is an 9″ width (map width — the labels and legend add more), but a 14″ width is a lot easier to read quickly. In the context of these files, that works out to a rasterization height of 9180 pixels (360 DPI).
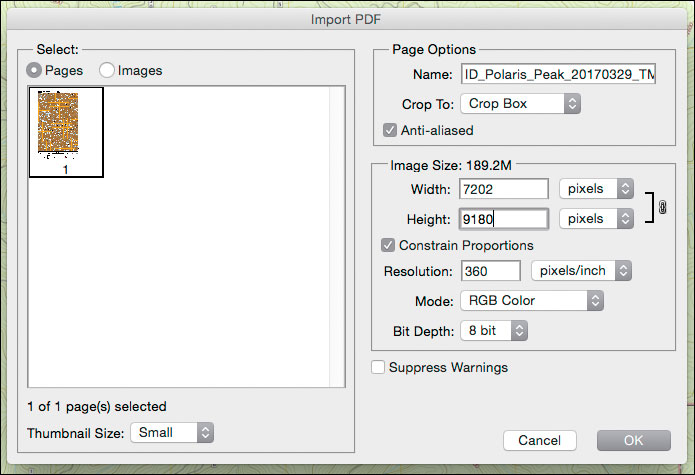
This creates a rasterized version of the vector map data on a transparent background. From here I copy it into a larger work area and begin lining up map edges. During this phase I will also remove duplicate labels and shift others to the edge if only using a portion of a map.
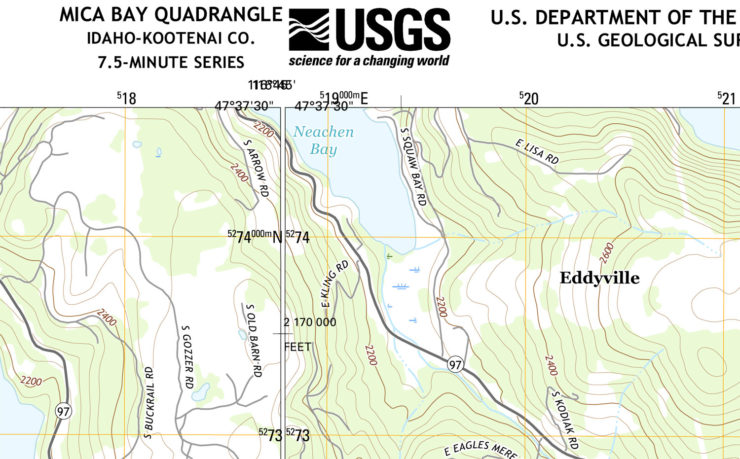
Unfortunately, rather than square the edges, they’re cropped at an angle to keep the desired width relative. While the horizontal edges and bottom corners will line up, the top left and right corners will be some distance away from the corresponding corner on the neighboring map section.
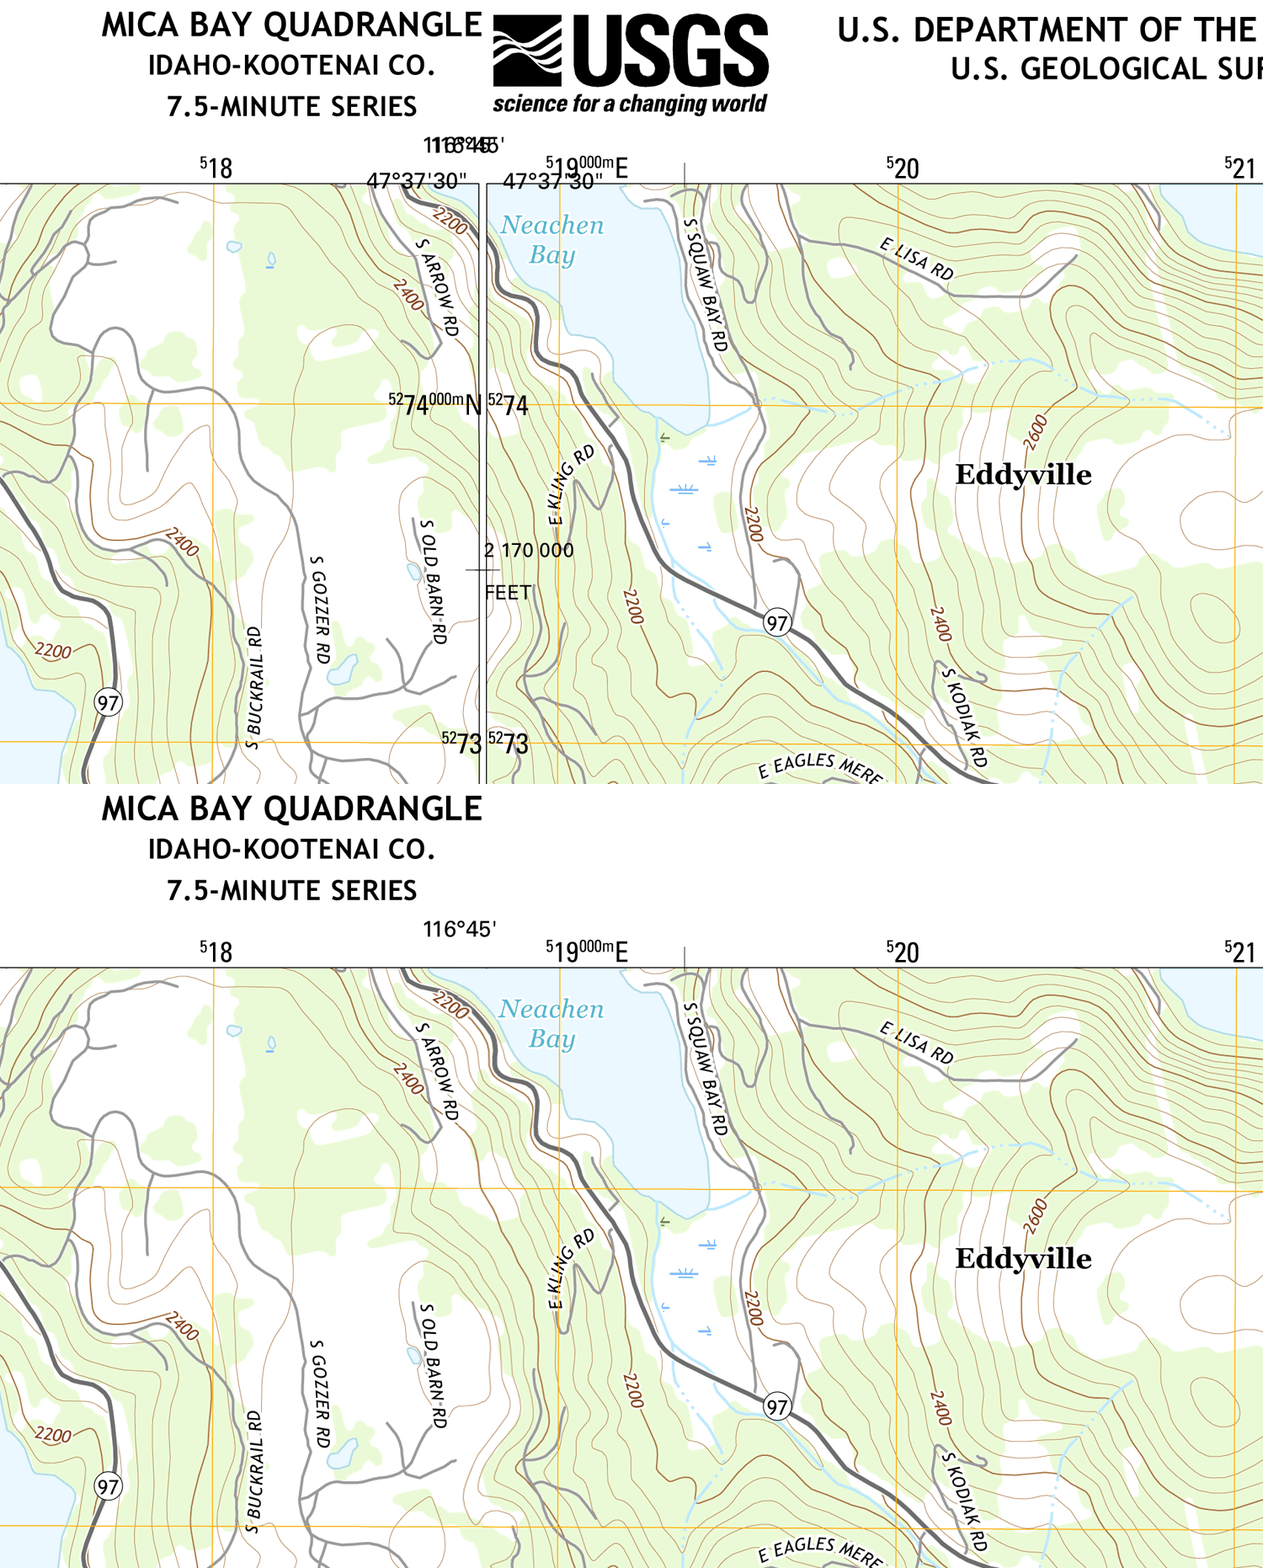
The best way I’ve come up with to join the vertical edges is to load a second copy of the PDF, edited first in Adobe Acrobat to remove a white overlay (it can be clicked on and deleted in editing mode), which reveals map content that overlays both maps.
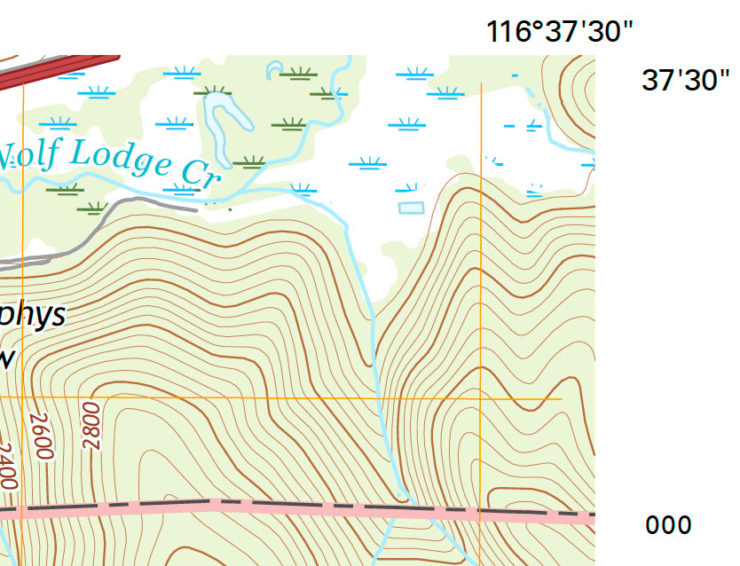
This strip of edging can be isolated and then overlapped on the gap. The map it’s sourced from will line up perfectly, but the adjoining map will need warping to line up correctly. This distorts the map slightly, which means it’s not 100% accurate at that point, but the end result is close enough for my purposes.
From here it’s just a matter of rearranging the legend and other labeling to fit the desired view. Since multiple maps are being merged, it makes sense to remove the duplicate symbol legend, source text, and scale. I typically keep the source text from the left-most map, the scale from the center, and the symbol legend from the right-most. Each map has its own positioning and direction indicators, which I keep as long as there’s room.
Printing
These maps are most useful for me when they can be referenced on a trail, far from any kind of usable cellular signal. That means printing, and regular paper is nowhere near durable enough for that environment. For that, I was lucky enough to stumble upon some weatherproof paper from iGage.
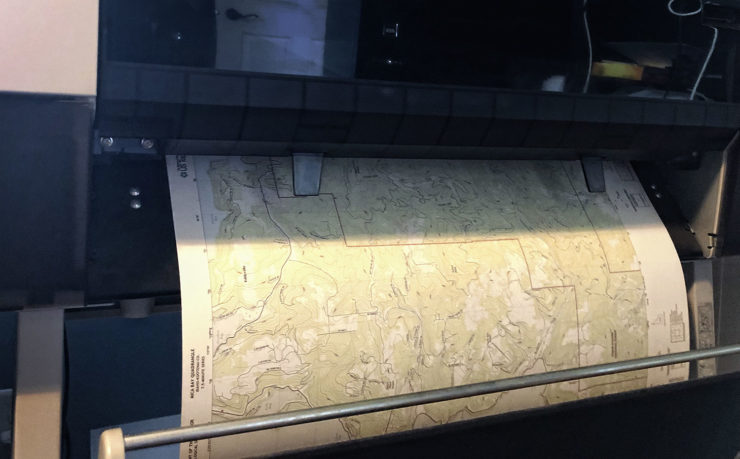
Single maps I will print at 11×17″, but for these larger ones, I use 24″ roll paper. All are printed on an Epson 7800.
