Several months ago I wrote up the installation of my RV network. While that has generally worked well, it had a number of components that were 120 VAC:
- A TP-Link router to act as a bridge between the cellular hotspot and network.
- Synology DS116, which is used both as my media server and a general file server.
- A small Lenovo computer that houses my development VMs.
- The HughesNet satellite modem.
I can run all of this via the inverter while on battery power, but I don’t like to. All of their power supplies step down to low voltage DC power, so doing the conversion from DC (batteries) -> AC (inverter) -> DC (power adapters) is nothing but a waste of power. Further, connecting and disconnecting shore power is enough sometimes to act like a brownout and cause them to reboot.
TP-Link Router
This is a small portable unit that I use as a bridge to connect to whichever cellular hotspot I’m using and output an Ethernet cable to plug into the main router. It has worked well enough, but its internal power adapter means it can only ever run off AC power. Since I’ve found myself primarily using cellular connections when out, this is something I wanted to change.
While a little larger physically than what I wanted, I ultimately settled on a Ubiquiti NanoStation loco M2 to replace the bridge (I have its even-larger sibling already for campground Wi-Fi). I was unable to find anything better (i.e., smaller) on the market that could power directly from DC power, provide bridge functionality, and wouldn’t have issues — it’s amazing how much network hardware will freeze up after even moderate usage. I’m also generally a fan of Ubiquiti hardware.
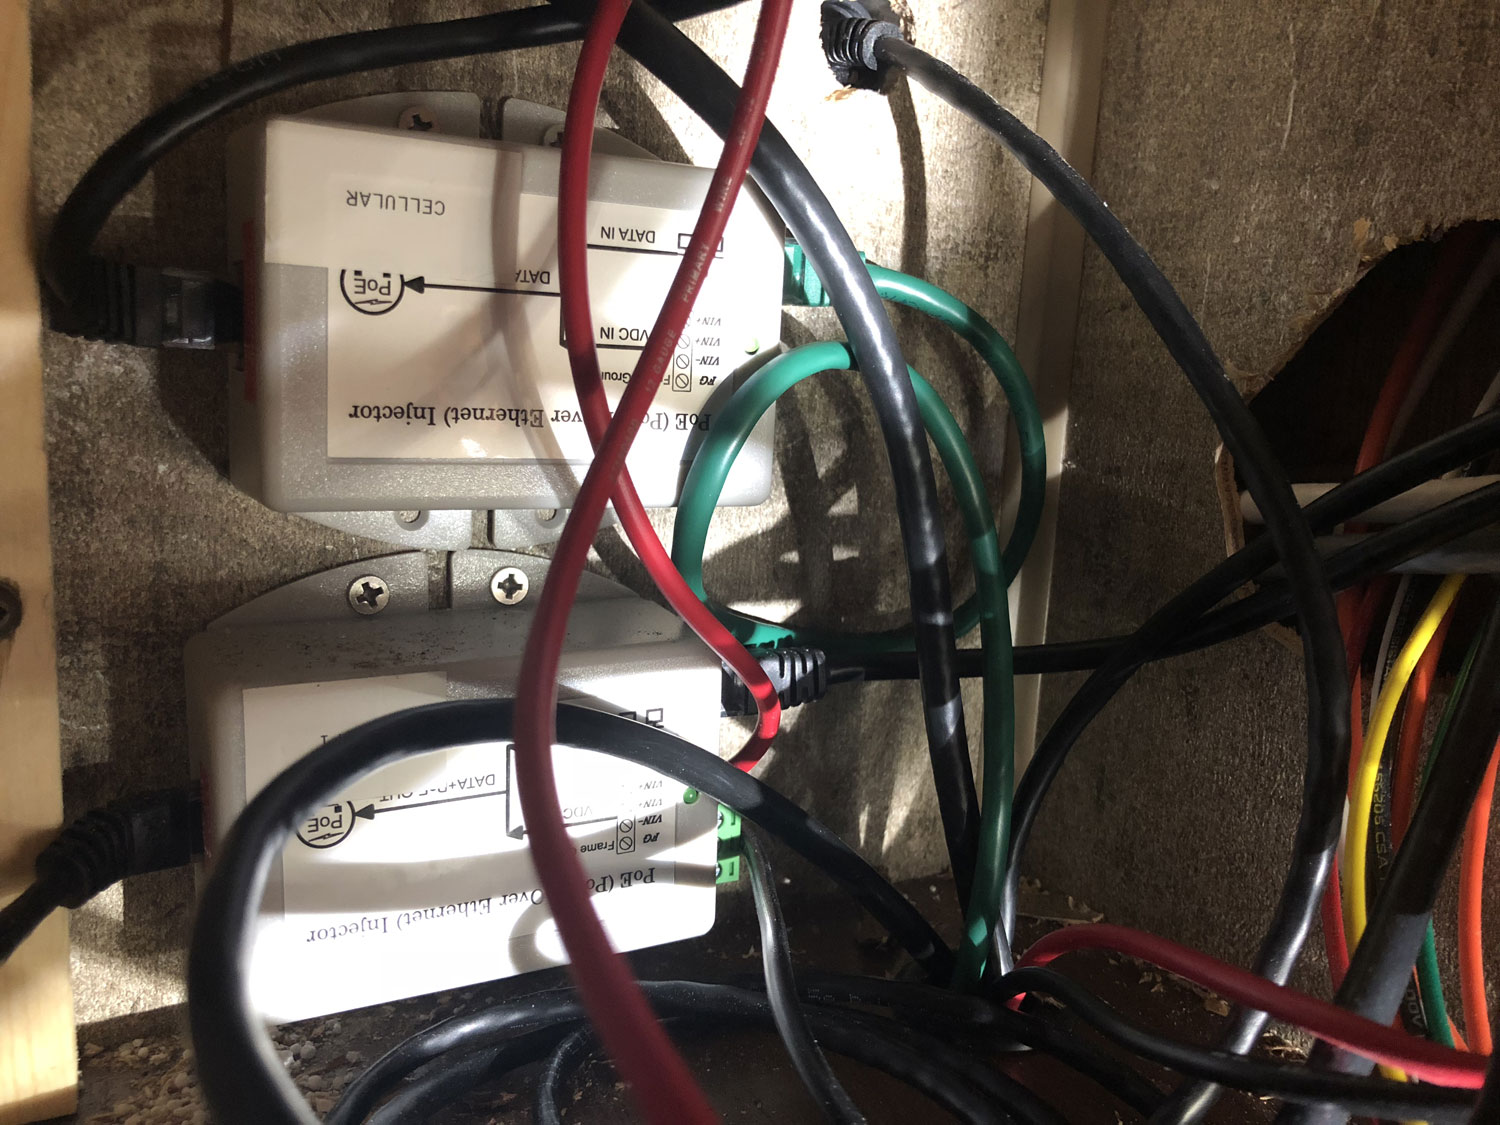
Like my other Ubiquiti equipment, the loco is powered via 24V PoE, so I picked up another injector for it. This got spliced into my cellular switch and mounted next to the other injector behind the stereo. I ran its LAN cable down the existing hole to the router and its device cable out the same hole as the cellular amplifier’s antenna.
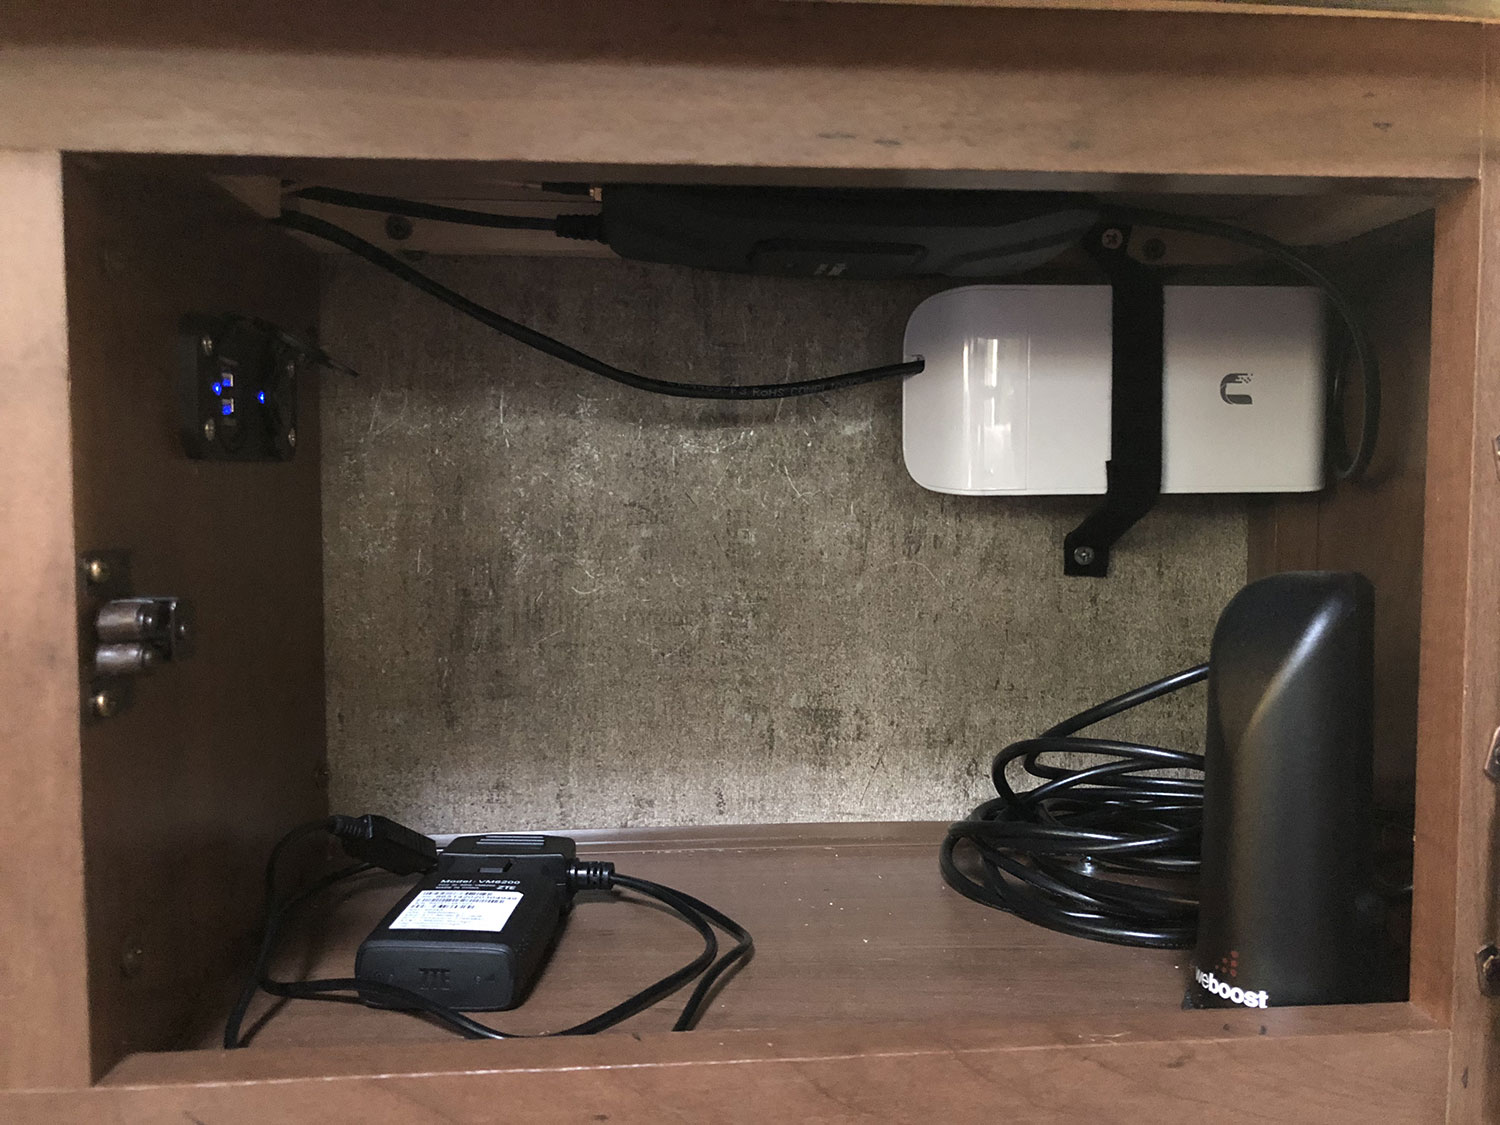
For lack of a better idea, the loco itself was mounted with detachable Velcro to the wall near the booster. Its built-in, non-removable bracket is designed for a pole mount rather than a flat surface, and this was the best I could come up with.
Other Hardware
The remaining hardware all sits in the same area, though it all uses different connectors and DC voltages: 12V and a 2.1mm barrel plug for the Synology, 20V and a proprietary plug for the Lenovo, and 12V/48V dual voltage through a four pin connector on the HughesNet modem.
Synology
Synology does not offer a 12V adapter of any kind that I could find, but the nominal voltage of the device is 12V, which meant the best option was to make a custom cable for it. They also don’t publish any electrical specifications, so I began by disassembling the device to verify the voltage range it’s capable of handling (16V max).
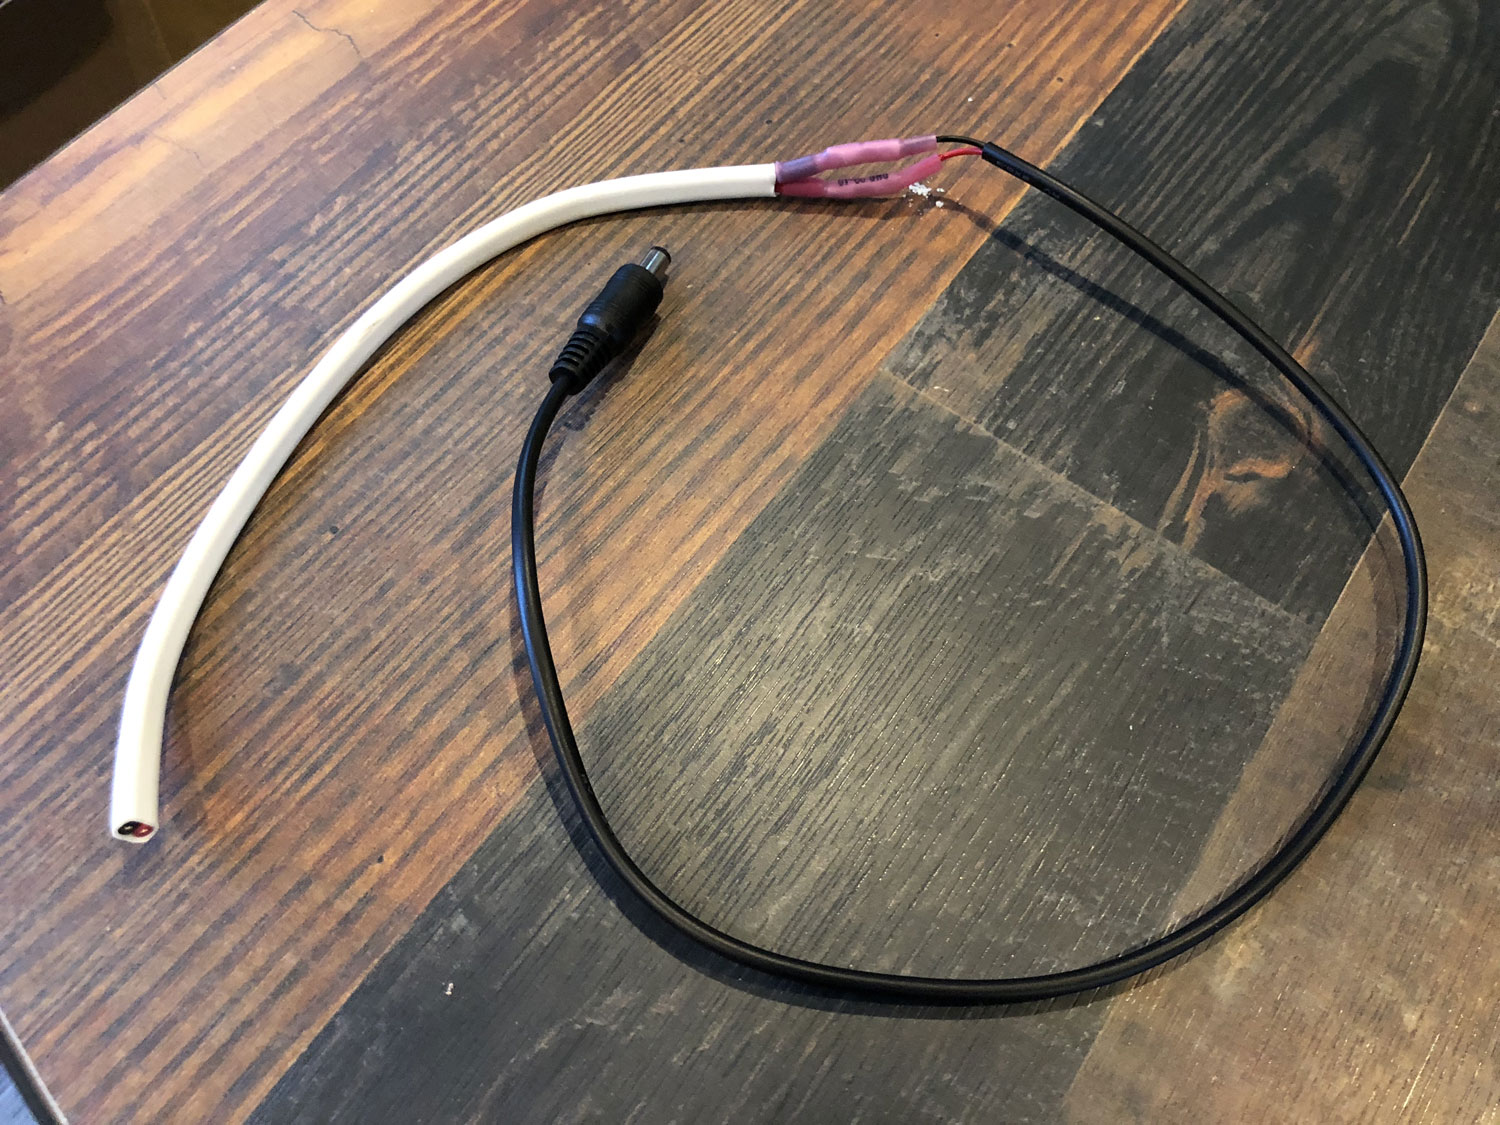
Combining a 2.1mm barrel plug, inline fuse, piece of 18/2 wire, some crimps, and an Anderson Powerpole pair, I created a short pigtail that would allow me to plug the barrel plug into the Synology and the Anderson end into a new wall port.
Lenovo
While I’m not a fan of the cigarette lighter style of 12V adapter because of its size, that’s what exists for the Lenovo unit. It was a better choice than building my own system with a 12V -> 20V buck converter, and it was also an off-the-shelf part that was made specifically for this purpose. When possible, I definitely like the more finished look that offers.
HughesNet Modem
The difficulty with the modem is that its power adapter outputs both 12V and 48V over the same cable, the 12V pair powering the modem itself and the 48V pair going to the LNB on the dish. It’s a common enough connector that I could probably build something custom for it, but at this point I do not use the satellite connection enough to justify the work and expense of doing it.
DC Outlets
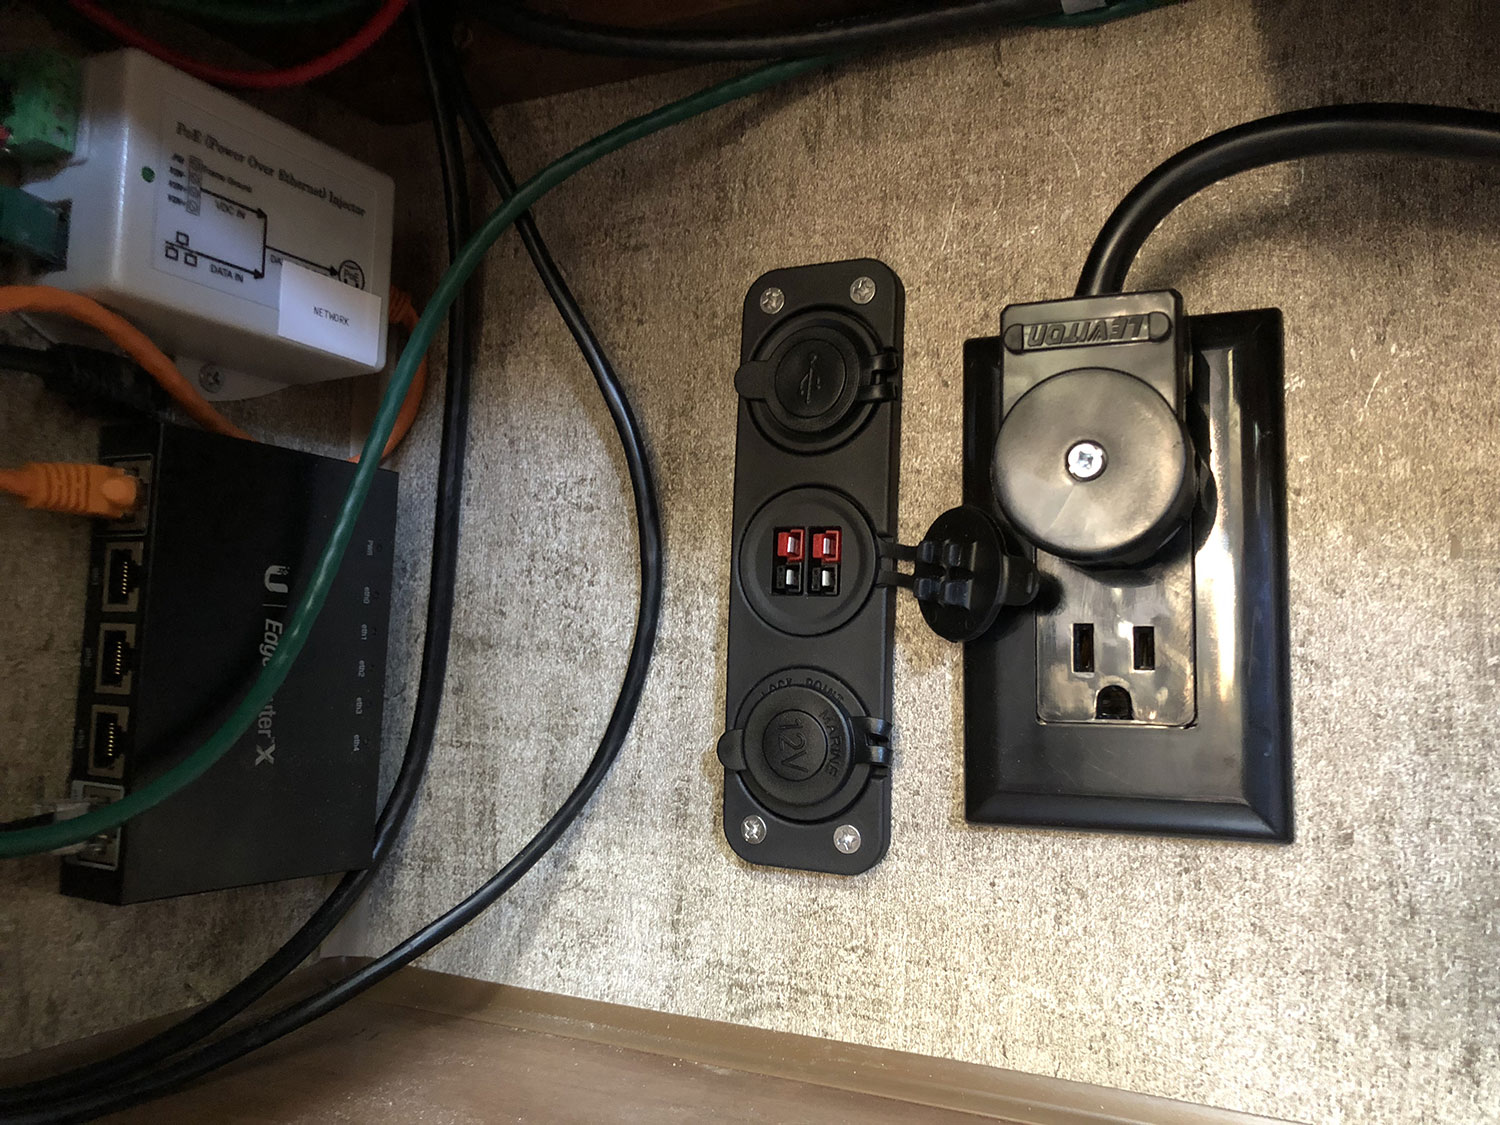
To power the new and future adapters, I assembled a set of three common DC outlets made by the same company as the high wattage USB ones I did previously, Powerwerx. I went with a pair of Anderson Powerpoles (one for the Synology and an extra for future use), a cigarette lighter style receptacle for the Lenovo, and another pair of high wattage USB.
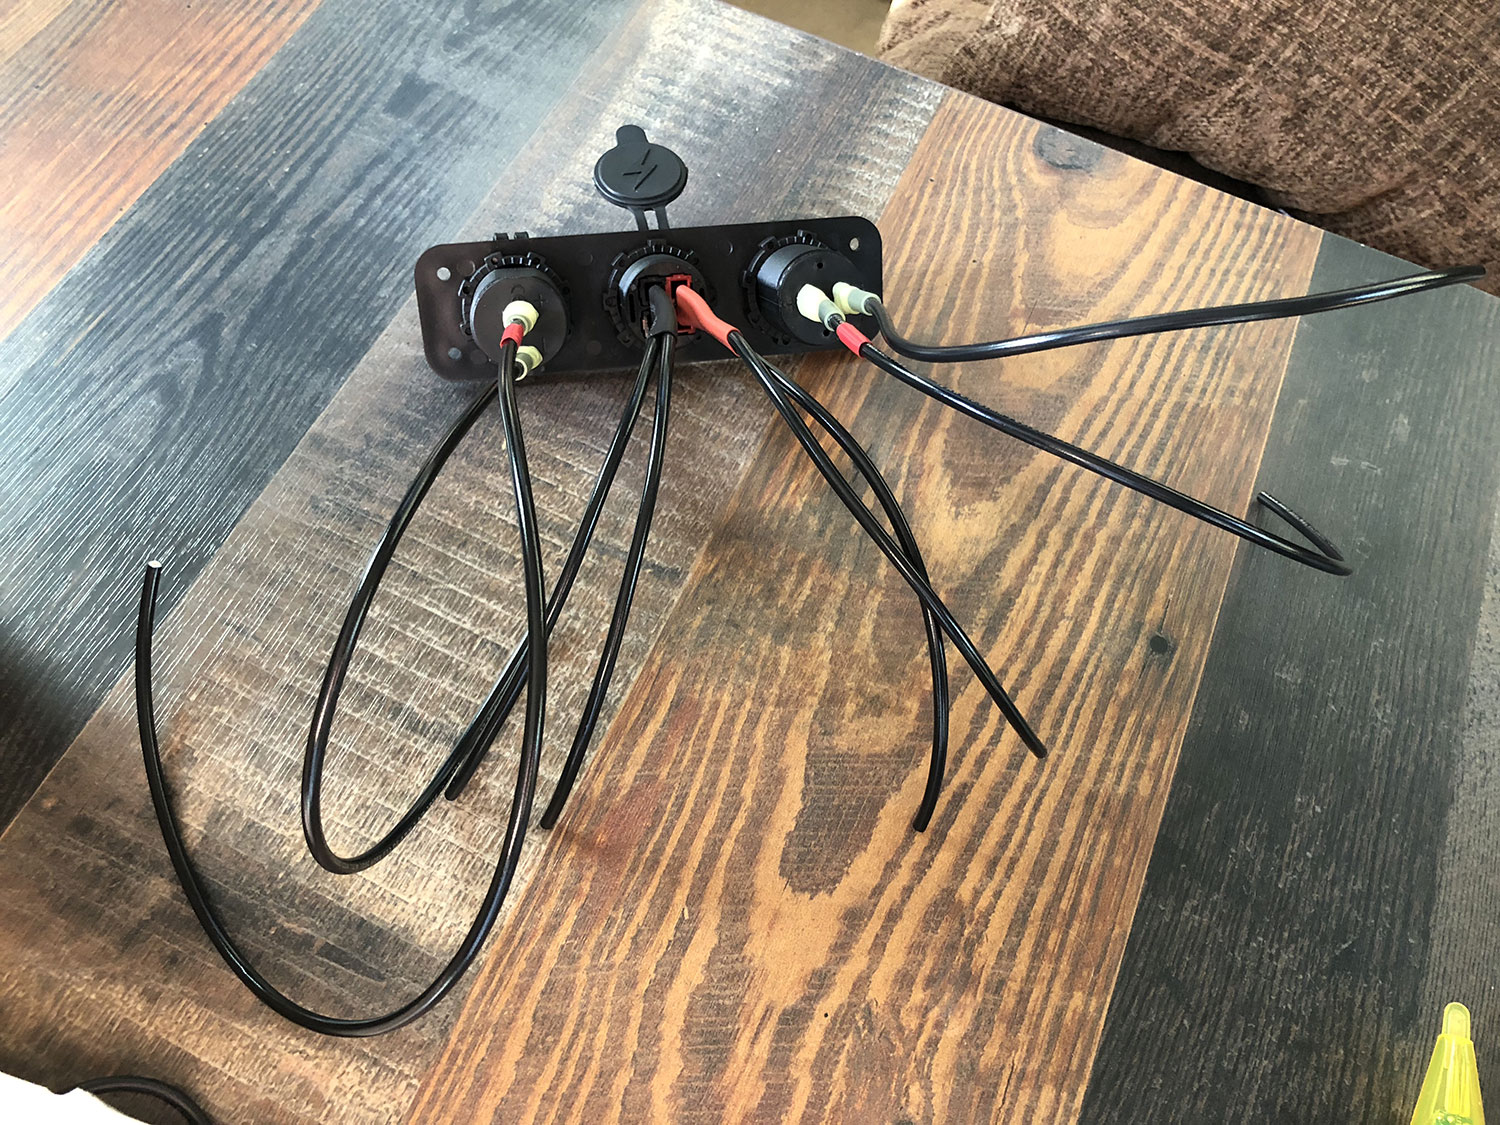
I located this next to the AC outlet I had installed previously, cutting a new hole in the wall. RV walls are very thin (usually two inches of void at most), so I actually had to bend the blade connector tabs on the back of each module just to get it to fit. It was surprisingly difficult to get those in far enough while also keeping the blade connectors attached.
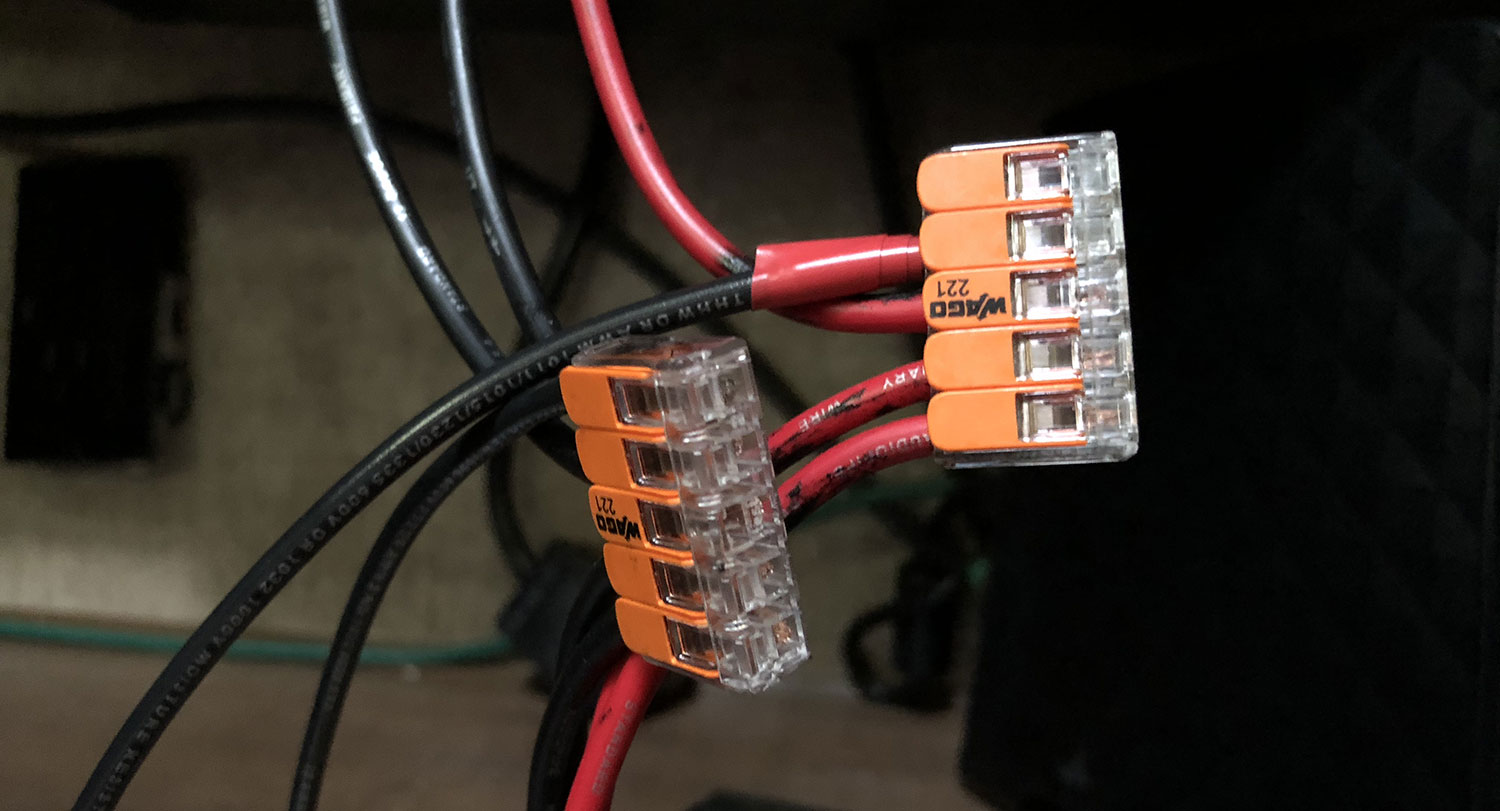
Like the new PoE injector, these got spliced into the 12V feed behind the stereo. Here I was able to use some new “wire nuts” I had discovered by a company called Wago, and they worked very, very well. They’re much more solid than the push-in ones I had used previously, and it’s easy to change them around as needed.
Conclusions
Aside from my laptop’s charger, the only two AC components remaining are the HughesNet modem and AppleTV. None of these are critical enough to worry about currently, and they’d be somewhat difficult to find 12V options for. I’m satisfied enough for now.
My custom cable for the Synology works fine, but I would like something a bit more flexible and will keep my eye out for a replacement. So far, the only thing I’ve seen was 6 ft long, which I could cut down and re-terminate, but I’ll hold out for better for a little longer.
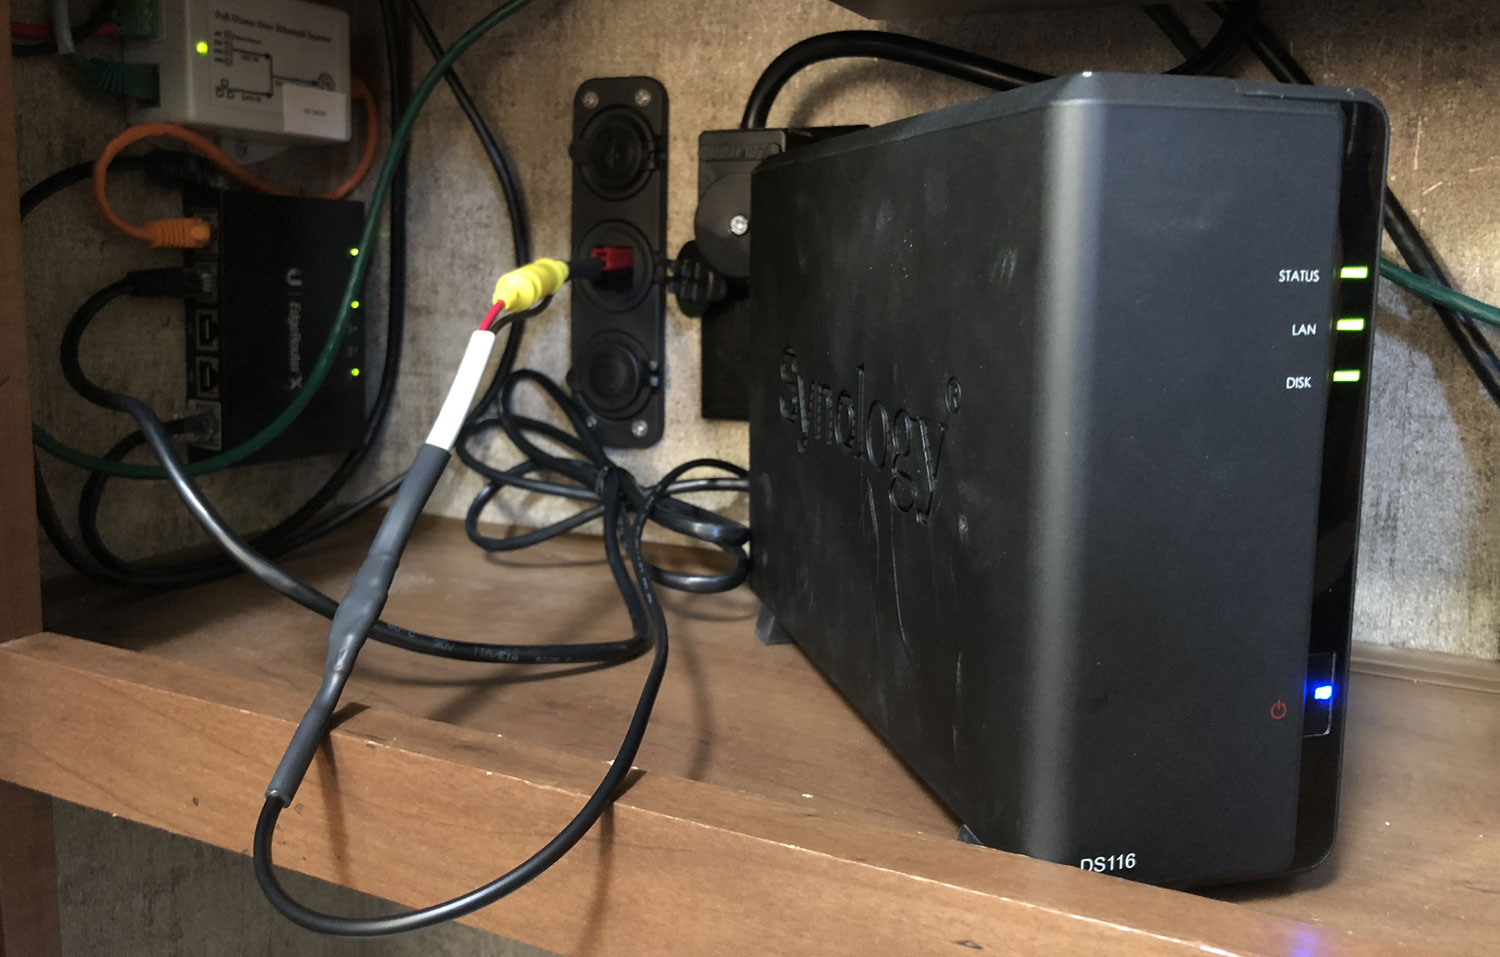
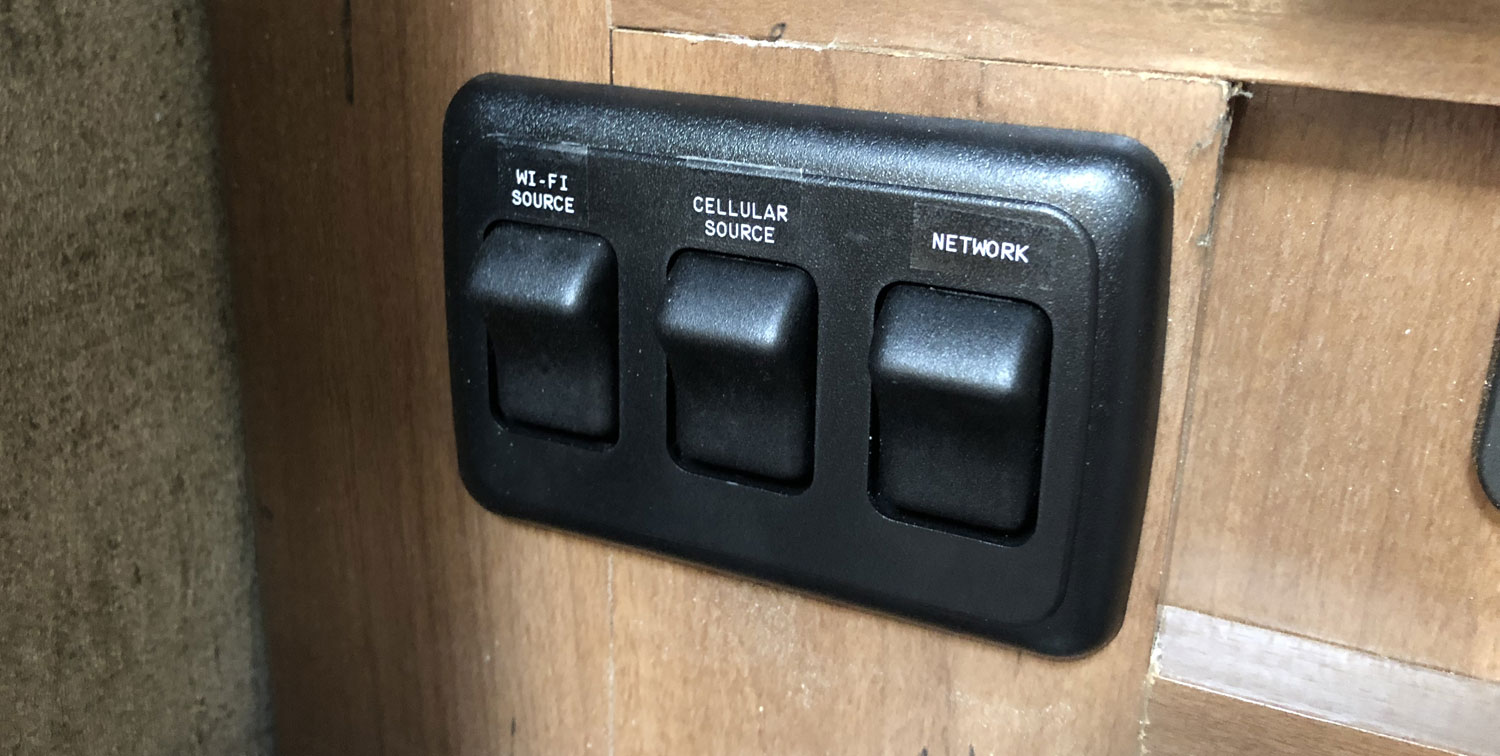
I also finally labeled my switches.
